Crafty Halloween Fun: Easy DIY Felt Treat Bags Tutorial

Designer: Marcia Izabel Marchiori
YouTube: MarciaBel Vlog
Instagram: @marciabel
------------------------------------
As the leaves turn golden and the air takes on a delightful chill, Halloween peeks around the corner, bringing with it a wave of whimsy and wonder. It's the season for charming costumes, friendly pumpkins, and, of course, delightful treats! And what better way to share those treats than with the cutest & easy to make hand-sewn Halloween treat bags made from soft, colorful felt?
In this enchanting tutorial, we'll take you on a journey into the world of DIY that are not only adorable but also perfect for involving your children in the creative process. Say goodbye to ordinary plastic bags and embrace the handmade charm that will make your Halloween celebrations truly special. Whether your young ones are budding crafters or just starting out, our step-by-step instructions and creative tips will ensure your Halloween treats are wrapped in love and sprinkled with cuteness.
So, gather your felt sheets in the most charming colors, and a pinch of creativity, because it's time to embark on a Halloween crafting adventure filled with sweet memories and cute creations.
Let's get started!
Tools & Supplies Needed
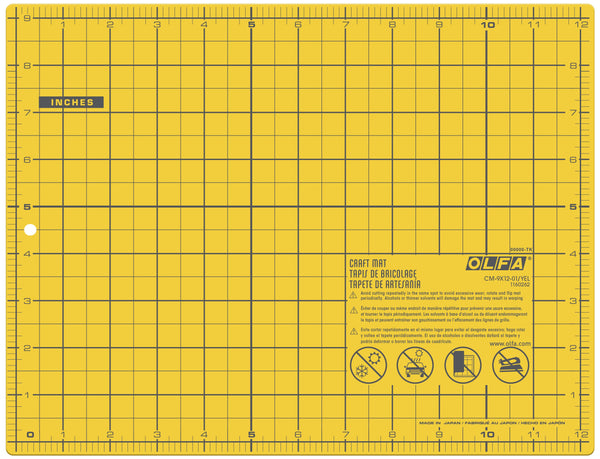
- OLFA CM-9x12-01/YEL Double-Sided Self-Healing Cutting Mat
- OLFA QR-6x12 6" X 12" Frosted Acrylic Ruler
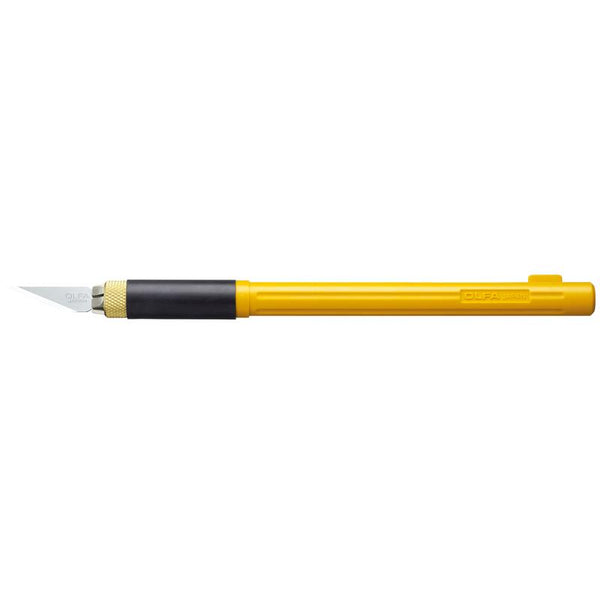
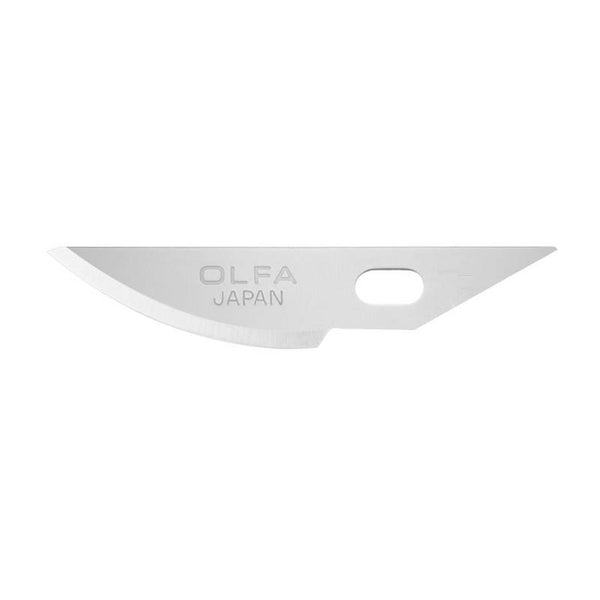
- OLFA AK-4 Cushion Grip Art Knife, paired with OLFA KB4-R/5 Curved Carving Art Blade, 5pk
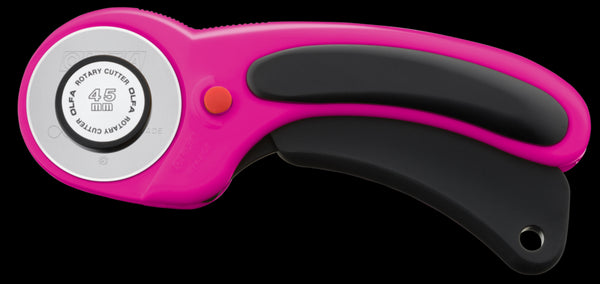
- OLFA RTY-2DX/MAG 45mm Ergonomic Rotary Cutter
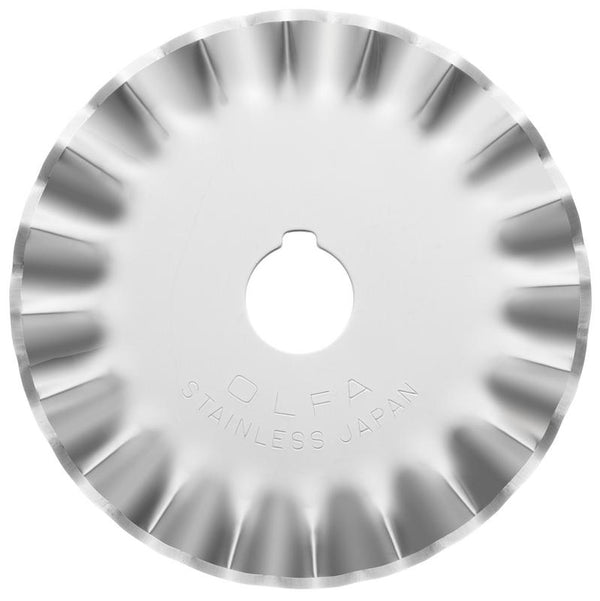
- Optional: PIB45-1 Stainless Steel Pinking Blade, 1pk
- OLFA 5-Inch SCS-4 Precision Appliqué Scissors
- Felt 9 x 12” sheets (Colors: white, green, black, and orange); Scraps of yellow and beige felt
- Embroidery floss (Colors: black and white / used in this project: Aurifil)
- Embroidery Needles (used: Riley Blake Designs)
- Ribbon (Colors: black, green) - two 19” strands per bag
- Pins (used: Riley Blake Designs Pretty Pins)
- Fabric glue (used in this project: Therm O Web Heat n bond fabric fuse liquid adhesive)
- Erasable pen
Instructions
- Print template to scale. Gather all tools and materials.
- Using your OLFA cutting mat, erasable pen, and ruler, trace 4 x 6" rectangles on the felt for each color you want to use. You'll need two rectangles of each color. Once traced, carefully cut out the rectangles using the OLFA rotary cutter and ruler.
Note: Tracing before cutting out the rectangles is a personal preference of mine, but you can certainly skip the tracing step, and cutting the rectangles out using only the ruler as a measuring guide, as you cut.
Optional: For an extra decorative touch, use the OLFA rotary cutter paired with the pinking blade to cut top side of each rectangle. This will create a scalloped border (I used this for my ghost and the pumpkin).
Changing blades:
Cutting out the border:
- Trace template on felt with an erasable pen. Using OLFA AK-4 art knife, paired with the curved carving art blade, cut out all pieces.
Tip: For the dark felt, use removable tape to secure the template in place and cut the pieces.
- Using Therm O Web fabric glue, adhere all the motifs to each rectangle according to template. Let them all dry.
Tip: You can get creative here; add faces from the provided templates, or create any new spooky designs you like, like witches, mummies, etc. :-)
- Sew the cat whiskers with white floss, and the Frankenstein stitches with black floss (used in this project: six strands of floss).
- Overlap two rectangles of the same color and pin them together.
- Fold the top ends of both pairs of rectangles in about 3/4 inch and pin them in place. These folded sections will form the pocket that the ribbon will go through later.
- Sew up the bottom and either side of the rectangles, but stop when you reach the top seam on both sides.
- Sewing the top seam: with a needle and floss (I used three strands), use running stitches to hand-sew both edges down with a topstitch. This creates a pocket or channel for the ribbon.
Note: It’s important not to sew the upper pocket closed; this is where the ribbon will be inserted.
- Attach a safety pin to the end of your ribbon and use it as a guide to feed the ribbon through the open pocket of the sachet. Once the ribbon is through, adjust the gathers to your liking and tie a bow.
Repeat these steps for all the motifs you'd like to create.
Your adorable DIY felt treat bags are ready to be filled with sweet treats and shared with friends and family.
Don’t forget to tag me @marciabel and @OLFA_craft in your finished project.
Happy Halloween crafting!
Marcia


