Crafting Magic: A Winter Wonderland Village Card

Designer: Marcia Izabel Marchiori
YouTube: MarciaBel Vlog
Instagram: @marciabel
---------------------------------------
Winter is a season filled with wonder and magic, and what better way to capture its enchantment than by creating a stunning 3D paper card that evokes the charm of a snow-covered village on a starry, illuminating night? With the right materials, sprinkling hints of gold and white, and a touch of creativity, you can bring the winter wonderland to life right in the palm of your hand.
As you embark on this crafting journey, you'll discover that paper crafting can be a therapeutic and rewarding hobby that not only allows you to express your artistic side but also share your creations with loved ones during the festive season. Whether you're looking for a unique greeting card or a delightful piece of winter-themed decor, this project has you covered.
So, gather your crafting supplies, set the mood with a cozy playlist, and get ready to bring the winter wonderland to life. Let's begin!
So let’s start!
Tools & Supplies:
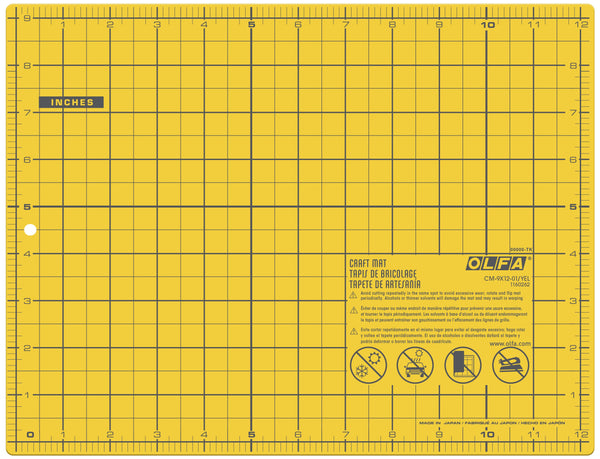
- OLFA CM-9x12-01/YEL Double-Sided Self-Healing Cutting Mat
- OLFA QR-1x12 1" X 12" Frosted Acrylic Ruler
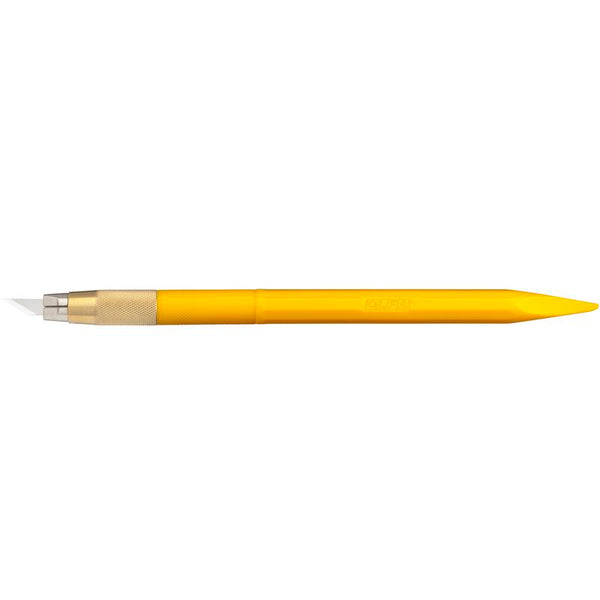
- OLFA AK-5 Designer Graphic Art Knife With 30 Replacement Blades
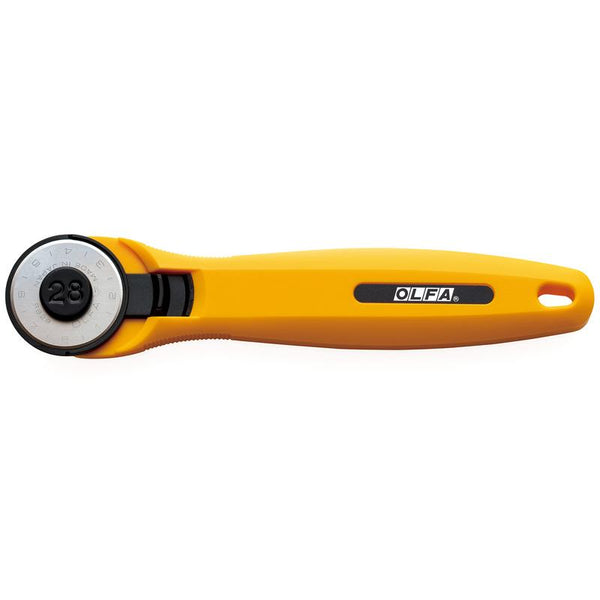
- OLFA 28mm RTY-1/C Quick-Change Rotary Cutter
- OLFA 5-Inch SCS-4 Precision Appliqué Scissors
- White cardstock, letter size (used: Neenah coverstock smooth finish)
- Blue (or any color of your preference, for sky) cardstock, letter size
- Therm O Web Gina K. Designs Glitz glitter gel, gold
- Therm O Web iCraft removable Pixie tape
- Palette knife and hand applicator pad
- Fine point brush
- Thermo O Web iCraft Easy-Tear 1/4" double sided tape
- A7 envelope
Instructions
Start by printing the templates directly on the cardstock sheets here.
Using the OLFA frosted acrylic ruler and AK-5 designer graphic art knife (tapered base side of the handle), mark the scoring lines.
Start by cutting out the straight lines, with the OLFA frosted acrylic ruler and rotary cutter. Also, cut out the printed blue cardstock.
Note: In this step, you have the option to use the OLFA designer graphic art knife instead of a rotary cutter. However, I always prefer using the rotary cutter for cutting lengthy lines because it is much easier and faster.
With OLFA AK-5 designer graphic art knife, and OLFA frosted acrylic ruler when needed, cut out all the detailed parts of the card.
Tip for cutting out details with an art knife: start cutting from the inside and move outwards. This will help you avoid damaging delicate parts of your design.
Protect your surface with a plastic sheet, then mask off the left side of the card where you don't want Glitz Glitter Gel using Therm O Web iCraft removable Pixie tape:
Apply Glitz Glitter Gel to the edge of the Pixie tape, using a palette knife.
Apply Glitz Glitter Gel across the card using a hand applicator pad.
Remove the Pixie tape, and let the product dry for at least one hour. This is what we have so far:
Using Thermo O Web iCraft Easy-Tear 1/4" double sided tape, adhere blue cardstock to the card.
Use a fine point brush to apply dots of Glitz Glitter Gel to the blue cardstock, making a couple of stars. Let it dry.
After the Glitz Glitter Gel is fully dried, use Thermo O Web double sided tape to assemble the two parts of the village together. Fold card according to the picture below.
Your card is ready!
And, when the card is opened, it makes a beautiful holiday decoration as well!
Please don’t forget to tag me @marciabel and @OLFA_craft on your finished projects, we would love to see your cards!
Happy Holidays!
Marcia


