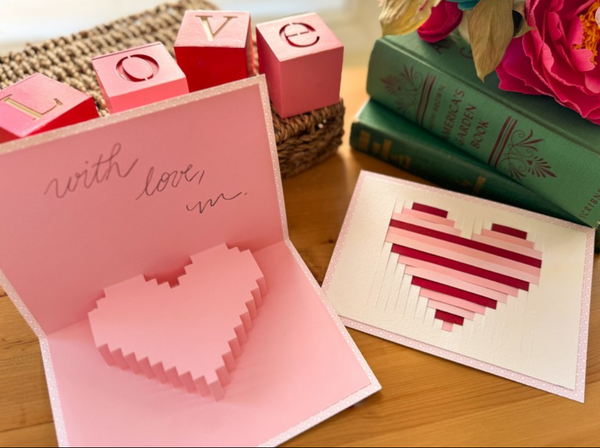
Crafting Love: DIY Pixel Art Inspired Kirigami Valentine's Day Card

Designer: Marcia Izabel Marchiori
YouTube: MarciaBel Vlog
Instagram: @marciabel
---------------------------------------
Love is in the air, and what better way to express your affection than with a handmade card crafted with care?
This Valentine's Day, embark on a creative journey as we combine the charm of Pixel Art with the elegance of kirigami, the Japanese art of folding and cutting paper. In this tutorial, I'll guide you through the steps to create a unique and personalized Valentine's Day card using basically cardstock.
Feel free to unleash your creativity by experimenting with colors and sizes, adjusting the template to suit your preferences. Whether you're celebrating with a significant other, a friend, or a family member, this versatile card is a heartfelt gesture that can be tailored to fit anyone you hold dear.
Let's dive into the world of paper crafting and make this Valentine's Day extra special – one pixel at a time! Are you ready? Let's start making it!
Tools & Supplies Needed
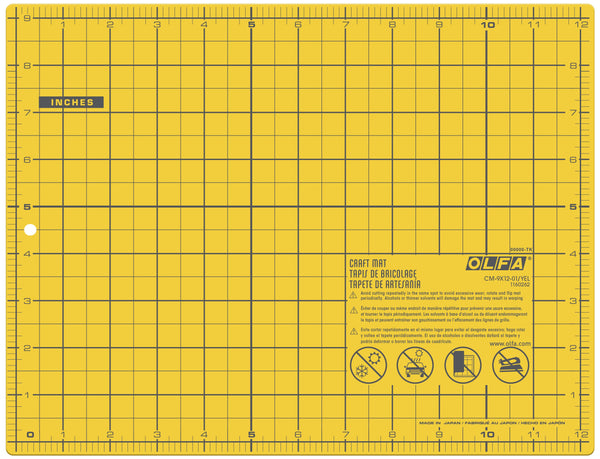
- OLFA CM-9x12-01/YEL Double-Sided Self-Healing Cutting Mat
- OLFA QR-1x12 1" X 12" Frosted Acrylic Ruler
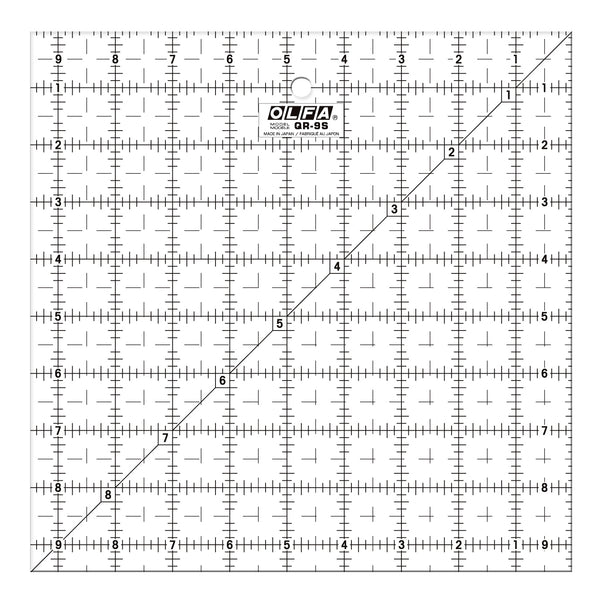
- OLFA QR-9S 9 1/2" Square Frosted Acrylic Ruler
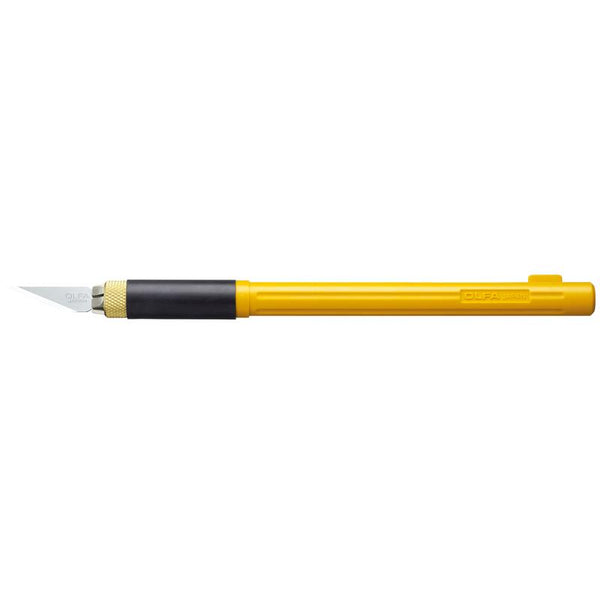
- OLFA AK-4 Cushion Grip Art Knife
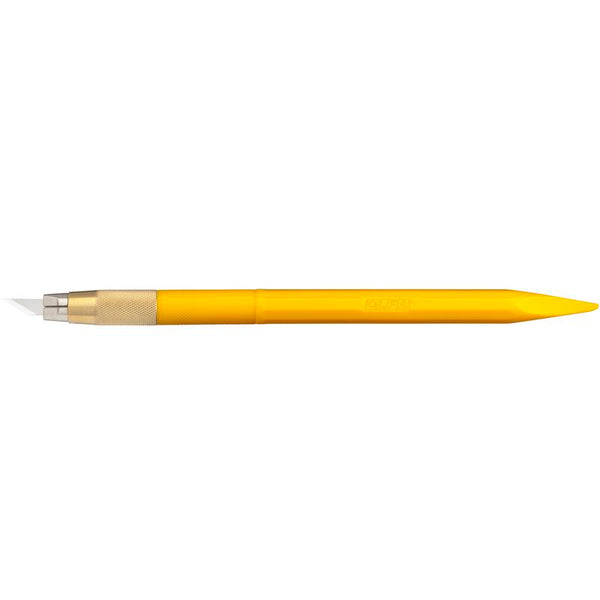
- OLFA AK-5 Designer Graphic Art Knife With 30 Replacement Blades (we’ll use the tapered base side of the handle, for scoring)
- OLFA 5-Inch SCS-4 Precision Appliqué Scissors
- Watercolor paper, letter size
- 3 shades of pink Cardstock, letter size (1 sheet each shade)
- Double-sided patterned paper, letter size (1 sheet)
- Thermo O Web iCraft Memory adhesive tape runner
- Thermo O Web iCraft Removable Pixie Tape Roll
- Pencil, eraser
- Adhesive tape
Instructions
Print template to scale directly to the chosen pink cardstock (if your cardstock is textured, print it to the backside of paper). Gather all tools and materials.
- Using the OLFA ruler and OLFA AK-4 art knife, cut out all the edges of the printed card.
- Now, cut out ONLY along the black lines of the heart template. For this step it is important to use the OLFA AK-4 art knife, as you’ll need all the ends of the cut lines to be very precise.
- Lightly score all the red lines with the tapered base of OLFA AK-5 Art Knife handle, using the ruler as a guide.
- Now it is time to fold the heart. It’ll be easier, and more intuitive, to fold the heart from the top of it towards the bottom of the heart, as shown below.
- Cut the double-sided patterned paper to size (7” x 10”)
- Using the OLFA ruler to guide, lightly score length in the middle, using the tapered base of the OLFA AK-5 Art Knife handle.
- Start assembling the card: apply adhesive tape runner to the back of the kirigami heart insert. Pay attention to NOT apply adhesive tape to the heart part of the insert.
- Adhere insert to the patterned paper, beginning by the folded middle of the card, as shown below:
Then adhere the rest of the card:
Now, let’s work on the front of the card.
- Begin by cutting a 6 1/2 x 4 1/2” rectangle out of watercolor paper using the OLFA ruler and AK-4 art knife.
- Using a pencil, find the center of the length of your rectangle, trace a 1/8” line to both sides from the center, and start making a grid divided by eight for each side, with 1/4” between them. Mark a line 1/2” from the top and 1/2” from the bottom of the grid. With the OLFA AK-4 art knife, carefully cut along the 18 vertical lines you just created, making sure to stop precisely at the horizontal margins.
This should be the result:
- Cut several 1/4” strips from the three shades of pink cardstock, to make the pixels heart effect.
- Starting from the top, insert these strips into the cut grid you just made, alternating the three shades to the bottom. When finished, adhere some adhesive tape to the back of your paper, to secure the strips in place (see video below). Attach the heart to the front of the patterned paper.
Your greeting card is now ready!
I hope you have lots of fun making this, and don’t forget to tag me @marciabel and @OLFA_craft in your finished projects, we would love to see your creativity! Happy Valentine’s Day!
Marcia


