Crafting Gratitude: DIY Thank You Card with a Danish Heart

Designer: Marcia Izabel Marchiori
YouTube: MarciaBel Vlog
Instagram: @marciabel
-----------------------------------------
In a world that often moves at breakneck speed, there's something profoundly meaningful about taking the time to express gratitude in a heartfelt, handmade way. And what better way to do that than by creating a stunning Thank You Card that not only conveys your appreciation but also doubles as a work of art? In this tutorial, we're about to embark on a creative journey that combines the elegance of simple folding techniques with the charm of a Danish Heart. The result? A one-of-a-kind Thank You Card that's as versatile as it is beautiful, adorned with soothing green tones to suit any occasion.
With a simple square sheet of paper as our canvas and a handful of techniques, I'll guide you through the steps to create a Thank You Card that's sure to leave a lasting impression.
Let's get started!
Tools & Supplies Needed:
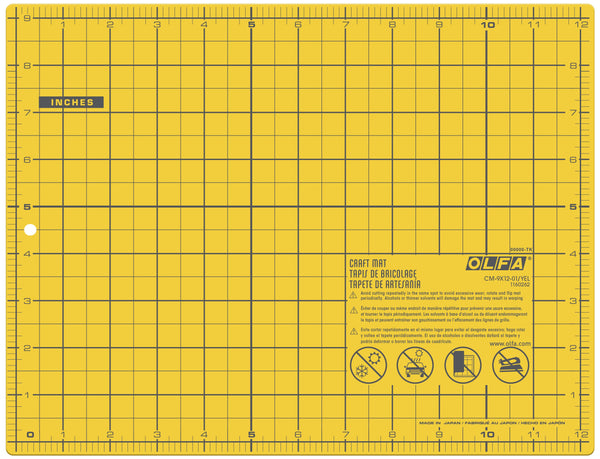
- OLFA CM-9x12-01/YEL Double-Sided Self-Healing Cutting Mat
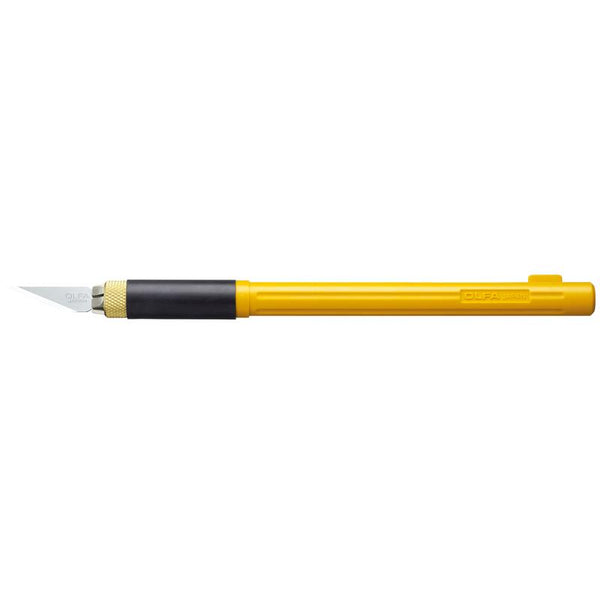
- OLFA QR-1x12 1" X 12" Frosted Acrylic Ruler
- OLFA AK-4 Cushion Grip Art Knife, paired with OLFA KB4-R/5 Curved Carving Art Blade
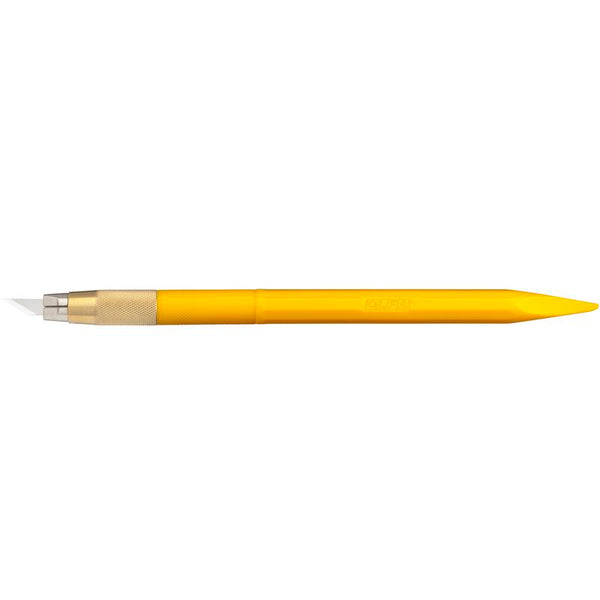
- OLFA AK-5 Designer Graphic Art Knife With 30 Replacement Blades (the tapered base side of the handle, for scoring)
- Double-Sided Patterned Cardstock, letter size (one sheet, matching colors)
- Single-sided Patterned Cardstock, letter size (one sheet, use a light matching color)
- Plain Textured Cardstock scraps (for heart, two matching colors)
- Ribbon (matching colors, app. 25” length)
- Thermo O Web iCraft Memory Adhesive Tape Runner
- Therm O Web Zots Singles 3D Adhesive Dots
- Pencil, eraser, printer.
Instructions
You can use any square-shaped paper size to make your card. I prefer using an 8.5 by 8.5-inch square as it allows using letter-sized papers, which is usually easier to handle and cut (and the yellow OLFA CM-9x12-01 cutting mat is just perfect for this job!), but the choice is yours. Just ensure that the paper is square (and scale the templates properly when printing them).
- Using OLFA mat, acrylic ruler and art knife, cut a 8.5 by 8.5-inch square out of a letter-size double-sided patterned paper.
The next four steps involves three folds. For each fold: first, run the tapered side of OLFA AK-5 to mark where each fold goes (this way you loose the fiber of the paper), then fold according to instructions below, and run the tapered side of OLFA AK-5 along each fold to make it crisp.
- First, fold the paper in half.
Open it up, rotate it, and fold the paper in half again.
- Turn the sheet at a 45-degree angle to create a diagonal. Fold.
This is the result so far:
- Take both ends that you folded diagonally and fold them inside, bringing them down flat with the edges together.
Congratulations, the base of your card is now ready!
- Print the template (sheet 1) directly onto matching patterned paper. Use OLFA AK-4 art knife and QR-1x12 1" acrylic ruler to cut out the three squares, according to templates.
- Using Therm O Web adhesive tape runner, attach the two blank squares to the inner side of the card, specifically to the unfolded corners, as shown below.
Fold the card back up and start working on the card's cover.
- Create a Danish heart by using the provided template (sheet 2) to trace and cut two heart halves from different but matching colored paper. Cut the straight lines with an acrylic ruler and freehand cut the curves, using an OLFA art knife paired with a curved blade.
- Begin braiding the strips together. Each strip should alternate between going through and over the strip from the other side. Continue this pattern until the heart is complete. Use adhesive tape runner to secure all the ends together.
- To add dimension, adhere the finished heart to the remaining square using Therm O Web iCraft zots 3D adhesive dots. Align the heart with the written message and adhere it to the square.
- Ensure the ribbon is free of adhesive: apply glue dots to the four corners on the back of the square, place the ribbon on the card, then center the square on the front side of the card. Press it down firmly.
- Finally, pull the ribbon around to the side and tie it into a bow.
Congratulations, your card is complete!
Don’t forget to tag me @marciabel and @OLFA_craft in your finished cards, we would love to see your creations!
Marcia


