Crafting a DIY Roll-Up Leather Pencil Case

Designer: Marcia Izabel Marchiori
YouTube: MarciaBel Vlog
Instagram: @marciabel
---------------------------------------
Level: Beginner

Everyone who knows my work knows that I love exploring all kinds of materials for my creations. However, one medium I wasn’t familiar with was leather. It’s not that I didn’t have reasons to try it; in fact, I find leather products incredibly beautiful and chic. Leather is also a versatile and durable material.
Discovering Hometown Leatherworks was the push I needed to start my adventures in the world of leather! Today, I’m excited to share my first project: a DIY Roll-Up Leather Pencil Case.

What I love most about Hometown Leatherworks is their variety of vegetable and lamb leather, which are wonderfully soft. The sheets are all letter-sized, making them easy to work with. One of the most exciting features is the option to print your own designs on the leather surface using only an inkjet printer, an iron, and their Leatherific transfer paper. If you prefer convenience, you can choose from their many beautiful pre-printed patterns.

For this project, I chose two coordinating patterns and used materials I already had at home. This approach not only simplified the process but also kept it cost-effective.

I truly loved the results, and I hope you enjoy making this project as much as I did. Let’s get started!

Tools & Supplies Needed
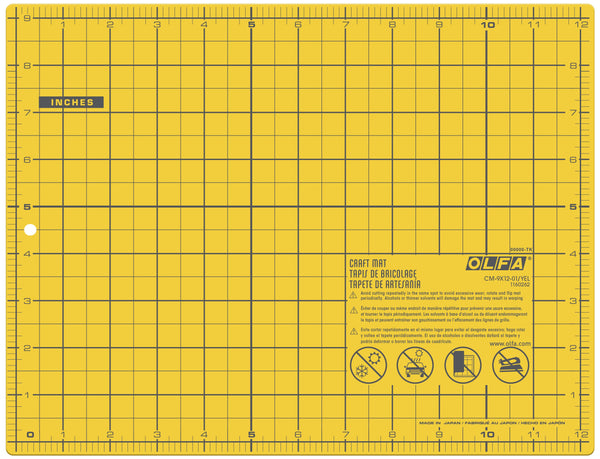
- OLFA CM-9x12-01/YEL Double-Sided Self-Healing Cutting Mat
- OLFA 45mm RTY-2/C Quick-Change Rotary Cutter, Aqua
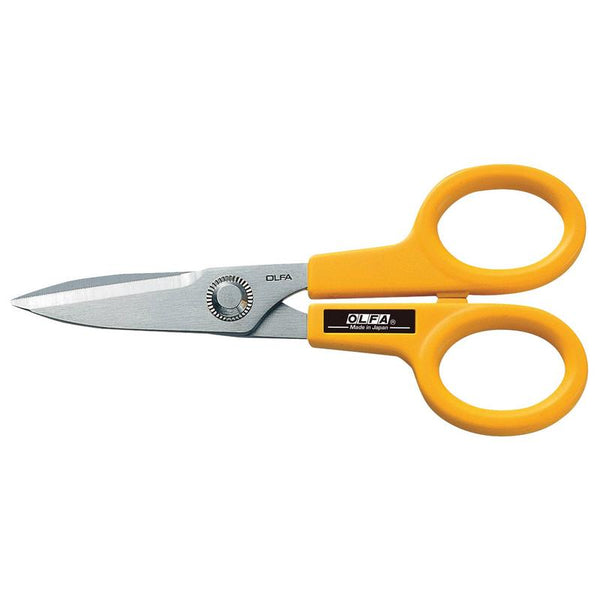
- OLFA 5-Inch SCS-1 Serrated-Edge Stainless Steel Scissors
- OLFA QR-6x12 6" X 12" Frosted Acrylic Ruler
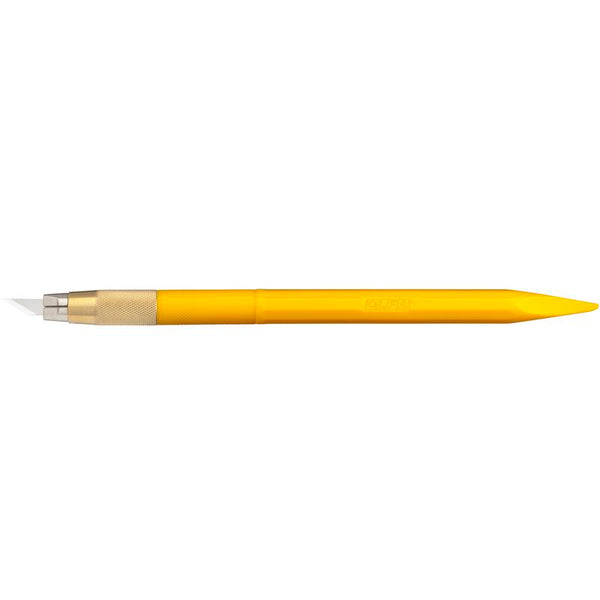
- OLFA AK-4 Cushion Grip Art Knife (precision art blade and curved blade
- OLFA AK-5 Designer Graphic Art Knife With 30 Replacement Blades (needle tip)
- Hometown Leatherworks lamb leather crafting sheet in Boho Daisy (8 1/2" x 11")
- Hometown Leatherworks lamb leather crafting sheet in Turquoise Bouquet (8 1/2" x 11")
- 100% Polyester Sewing Thread (used: Gutermann Extra Upholstery Strong Sewing Thread)
- Needle (used: tapestry needle)
- Sewing chalk marker
- Pencil and a piece of paper for corner template
- Hole puncher
- A piece of felt
Instructions:
- Let's start by cutting the pattern to size, saving one of the edges to make the wrapping cord.


- Make a paper template for the curved edge. I used a bottle I had nearby to trace the curve onto a piece of paper. Then, using an OLFA art knife with a curved blade, I cut out the template and traced it onto the leather. Using the same art knife, I cut out all four corners of the leather.


- Using the second patterned leather sheet, cut a 1" wide strip lengthwise.

- Now switch to the precision blade on the OLFA AK-4 art knife. Mark the center of the sheet crosswise using an OLFA ruler.

- Then, divide the marking points with a pencil according to the measurements below. Also, using a chalk marker, trace one line on each side of the points traced, 1/2" from the center.

- Cut vertical slits between the two lines of chalk traced in the previous step. Be careful to cut exactly 1" wide, as the precision blade is very sharp.


- With all the slits cut, thread the 1" strip through them, starting with the edge on the inside of the case.

- Using a pencil, divide the edge of the belt into four equal parts.

- Insert the cord between the belt and the main sheet. Then, use a piece of felt to protect the surface underneath and start punching holes at the points you just marked, using the OLFA AK-5 art knife with the needle tip.

- Using backstitches, sew the holes you just made with polyester thread and a needle, as shown below:
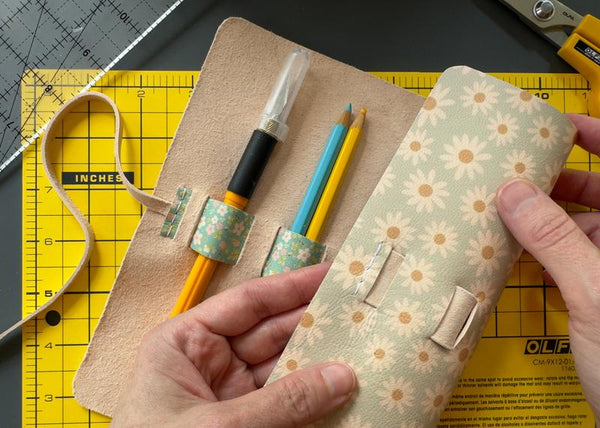
- To create the right space for the belt, insert your tools and pencils into each section. Then, mark the other side of the belt into four equal parts, just as you did with the first side. Repeat the same process shown in the video above to sew this side as well.

This is the result:

- To embellish the pencil case, I decided to add a cute bird ornament to the end of the cord. This step is entirely optional, but it’s so simple to make and the bird is adorable, so I highly recommend giving it a try! :-)
And your pencil case is ready:


Don’t forget to tag me @marciabel and @OLFA_craft in your finished projects, we would love to see your creation!
With love,
Marcia