CRAFT FOR KIDS SERIES - Easy 3D Shadowbox Artwork Tutorial

Designer: Marcia Izabel Marchiori of Minois Handmade
YouTube: https://www.youtube.com/c/MarciaBelVlog
Instagram: @marciabel
---------------------
All activities should be supervised by an adult.
Today I’ll begin a series of tutorial posts of crafts for kids and I’m so excited!
We are going to make the cutest shadowbox artwork, and it is so easy that you’re going to need just a few tools and supplies. To start, find at home any sturdy cardboard box you have around (without an attached lid): it can be a cookie box, the base of a gift/jewelry box, or any kind that it is not too deep. The ideal is the depth be 1” to 2 1/2”.
My favorite ones are the IKEA cookie boxes, which I always buy because the cookies are delicious :-) and the boxes are the cutest - that's the one I’m going to use for this tutorial. Or you have the option of buying an MDF wooden box at the dollar store as well, it’s up to you!

Tools & Supplies Needed :
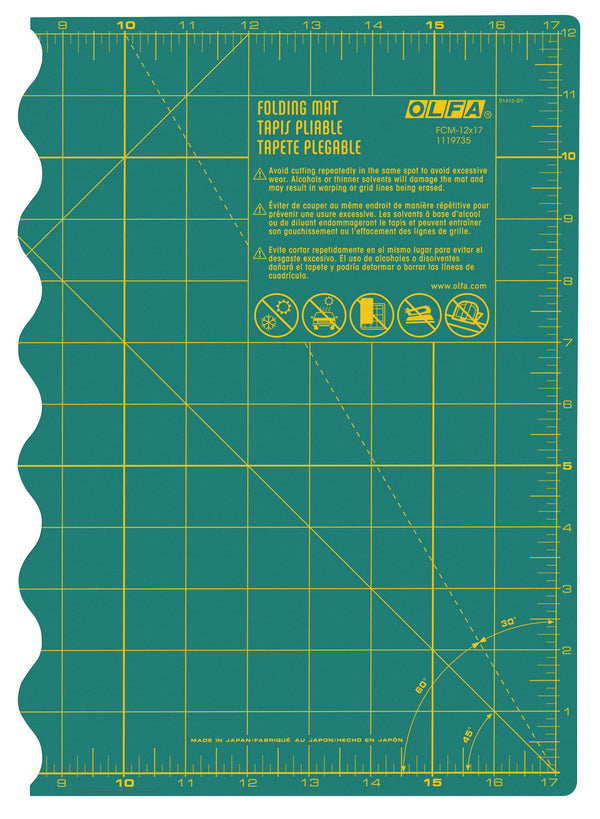
- OLFA FCM-12x17 12" X 17" Folding Cutting Mat
- OLFA QR-1x12 1" X 12" Frosted Acrylic Ruler
- OLFA QR-6x12 6" X 12" Frosted Acrylic Ruler (optional, but it helps a lot when measuring and marking background)
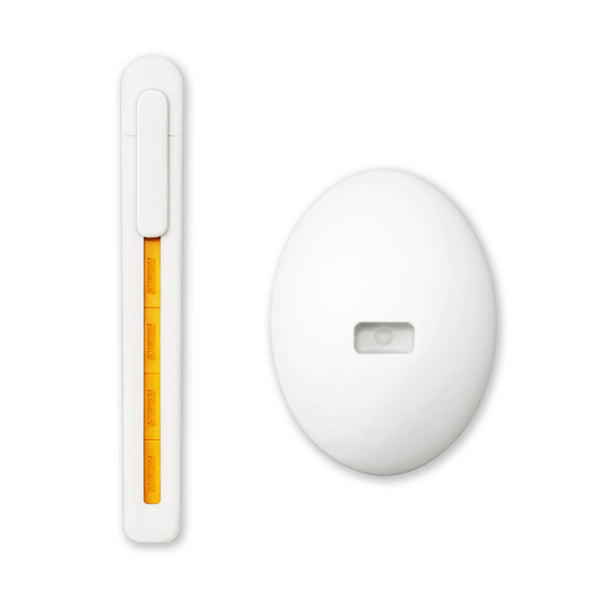
- OLFA ESK-1 Beginner Craft Knife With Stand
- Any colored paper will do it (two tones of blue, yellow and orange), but I love to use Construction Paper for paper crafts, they are so versatile!
- White print paper
- Glue stick or adhesive tape
- Any kind of small lid that fits into your artwork (to draw a circle with it)
- Pencil and eraser
- A chopstick to curl paper (if you don’t have it, you can use the pencil)
- Cardboard or MDF box, no lid (any size, with depth 1” up to 2 1/2”)
- OPTIONAL: Toothpick and washi tape to make a mast for the boat :-)
Instructions:
- Take the measurements of your cardboard box. First the base, drawing a rectangle with these measurements on the lighter tone of blue paper, the the length, drawing them too, like that:


- Cut to size and set aside. Now cut stripes of paper (darker blue tone), assorted widths but never larger than the box depth.

- With a white paper rectangle, make an origami boat with a size that will fit inside the box, according to the instructions below.

TIP: As a general rule of proportion, consider one quarter of the background for the size of the rectangle to make a paper boat:

- With the paper, draw some clouds and cut it to shape. Draw a yellow circle for the sun, then cut it as well.


- With the same circle lid, draw a circle on the orange paper, then draw some spikes and cut it out, like this:

- Now it’s time to glue everything together! First the light blue background, the waves, then the sun and clouds.
7. Break the paper fibers rolling a chopstick or pencil onto it, to make the stripes curvy, then start applying them to your artwork with glue or tape, making the waves:


- Glue the origami boat on top of the waves, the sun and clouds.

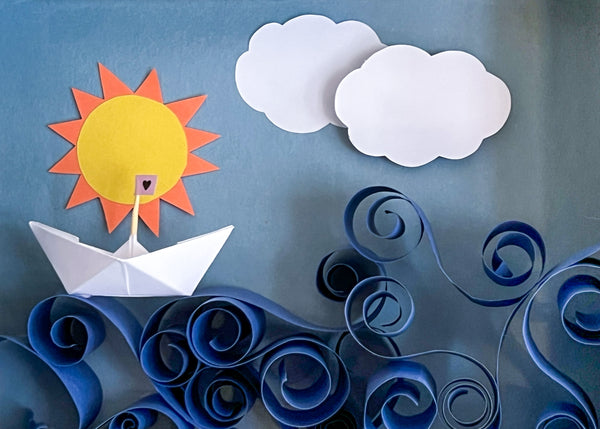
And your artwork is ready, with that warm breezy coastal feeling!

I hope you have lots of fun making this and don’t forget to tag me @marciabel and @OLFA_craft in your finished projects, we would love to see your piece of art!
Have a fun & creative year!
Marcia