Craft For Kids Series - Easy 3D Cardboard Dinosaurs Tutorial

Designer: Marcia Izabel Marchiori
YouTube: MarciaBel Vlog
Instagram: @marciabel
----------------------------------
Welcome back to our Craft For Kids Series, it is a joy to have you here!
Today I am excited to use one of the easiest medium you can find at home: cardboard! Who doesn’t love an easy recycled craft idea that is both fun to make AND can be used to decorate your room after playing?
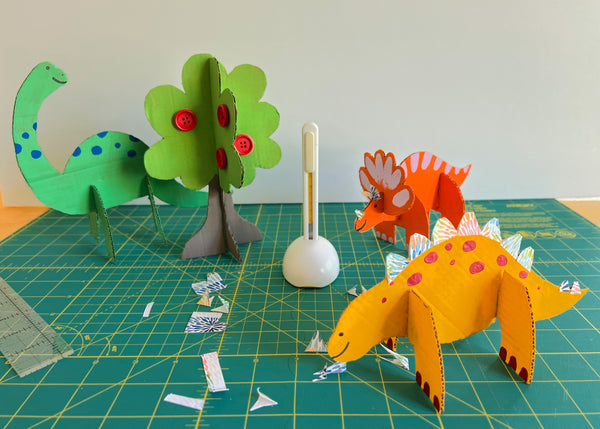
These 3D dinosaurs (and one tree!) are extra fun because they stand up and you’re able to go beyond it, customizing them using different colors, papers or any extra fun material you have in hands. Each one will look so different and unique!
So let’s start! First, print the templates here.
Tools & Supplies:
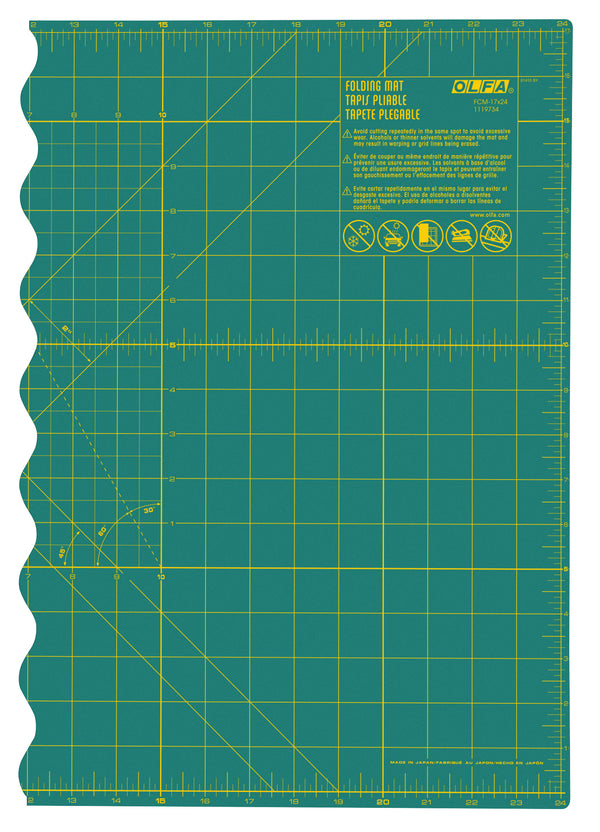
- OLFA FCM-17x24 17" X 24" Folding Cutting Mat
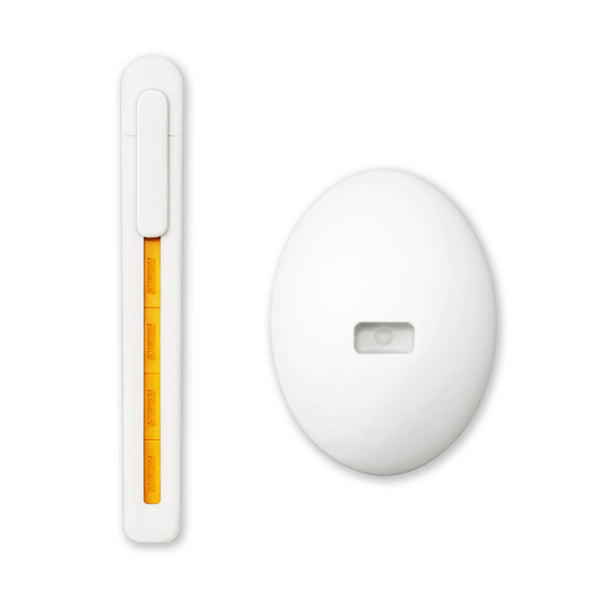
- OLFA ESK-1 Beginner Craft Knife With Stand
- OLFA QR-1x12 1" X 12" Frosted Acrylic Ruler (optional, but it helps a lot when marking and cutting out the straight lines)
- Recycled cardboard
- Glue stick or adhesive tape
- Black permanent marker, pencil and eraser
- Printed templates
Optional Items (supply ideas you could use to decorate the dinosaurs):
- Colorful Paper Scraps (e.g. scrapbook patterned paper, magazine and catalog pages, so you can have an assortment of colors)
- Gouache, assorted colors and brush
- Brown paper to protect surface when painting
- Colored Pencils, Crayons, Oil Pastels, etc
- Buttons (I’m using wooden buttons to decorate the tree, but you can add any spare one you have around)
Instructions:
Begin by cutting out and drawing the dinosaurs and tree templates to cardboard, with a pencil. After that, start cutting out each piece using OLFA ESK-1 Beginner Craft Knife.
After cutting out all of the pieces, start decorating them.
You surely could leave them plain (with the cardboard finishing and start assembling), but it will be another level of fun to add some color to each one of the dinosaurs! Here I am using gouache to paint mine, but you can even use crayons or colored pencils to decorate:
After the paint has dried, add a colorful touch with some collage, and make the spikes and horns with paper scraps, cutting everything with your ESK-1 Beginner Craft Knife.
Glue a few buttons to the tree, draw all of the dinosaur faces with a black permanent marker.
Assemble all of the pieces together, sliding the body and legs slots into each other (the same thing with the tree).
And voilà, it is as simple as that! Try making an entire herd of dinosaurs and go explore your backyard with them, it’s going to be so cool! :-)
I hope you have lots of fun making these.
Please don’t forget to tag me @marciabel and @OLFA_craft on your finished projects, we would love to see your piece of art!
Have a fun & creative summer!
Marcia
All activities should be supervised by an adult.


