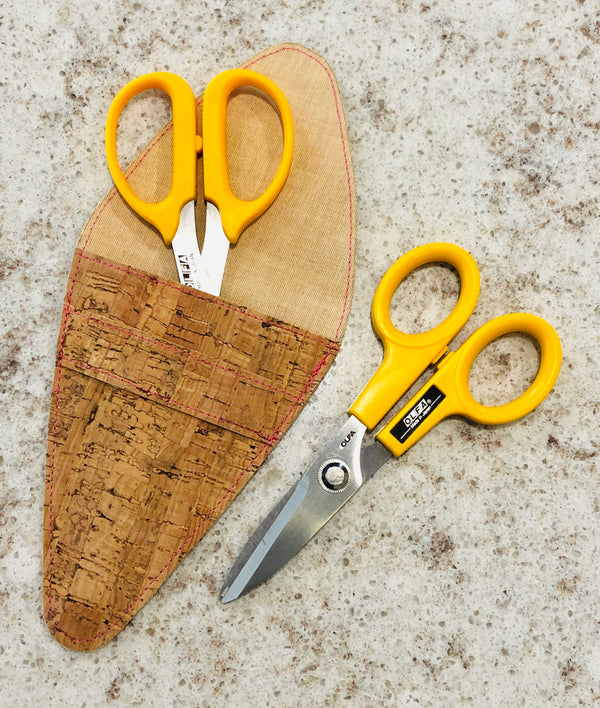
Cork Case

Designer: Sarah Gozzo
----------------------------
Materials:
- Pencil
- Template 1: Scissor Case
- Template 2: 45mm Rotary Cutter Case
- Fabric backed cork, (7”x9” for scissors case) (7”x10” for 45mm rotary cutter case)
- 5” length of half inch wide ribbon
- Contrasting Cotton Thread
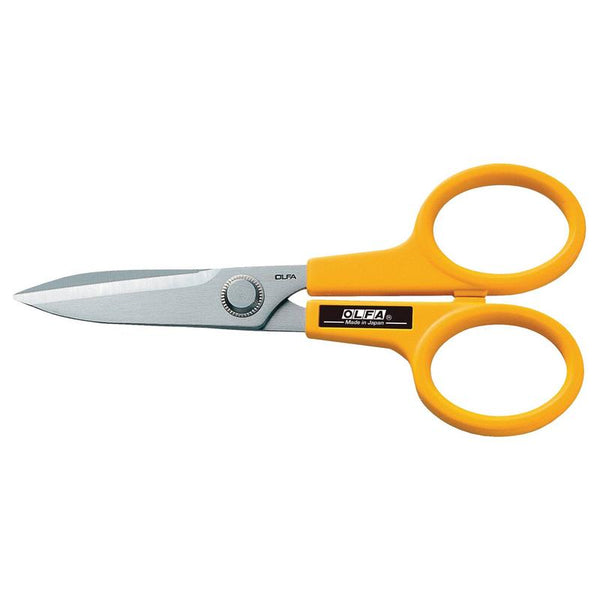
- OLFA 7-Inch SCS-2 Serrated-Edge Stainless Steel Scissors
- OLFA 5-Inch SCS-4 Precision Appliqué Scissors
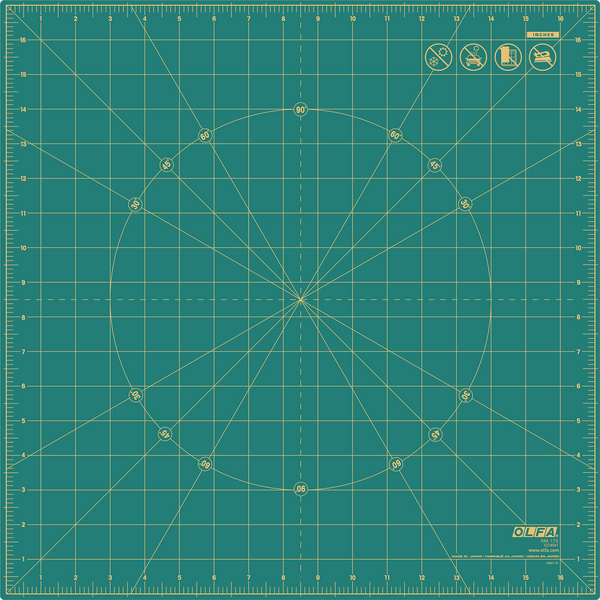
- OLFA RM-17S 17" Rotating, Self-Healing Cutting Mat
- OLFA QR-6x12 6" X 12" Frosted Acrylic Ruler
Important terms:
Top stitch. Sewing close to the raw edge, about 1/8”. Cork is fun to work with because you can easily topstitch without having to turn any seams!
Contrasting thread will make your tool case really pop!
Steps:
- Print templates onto copy paper and cut shapes A, B and C on the printed lines.
- Use a sharpened pencil to trace the 3 shapes onto the back fabric side of the cork.
- Cut the cork pieces ON the traced lines. OLFA utility scissors cut through cork beautifully.
- Top stitch along both long sides of piece C and along the top of piece B (shown as dashed lines on templates)
Use the guidelines on the printed templates for the following steps:
- With cork sides facing up, place C on top of B and top stitch along the short sides only to attach. Snip the edges of C to match B. Set aside.
- Create a ribbon loop by tacking together the overlapped ends of the ribbon. Quickly pass a flame over the end of the ribbon to seal it from fraying.
- Attach this ribbon loop to the cork side of piece A (using the placement guide on the template). Sew through the ribbon and cork in the shape of a box with an X inside to secure the loop to the cork.
- Now with wrong sides together, align piece B on top of piece A with focus on the bottom and side points. Clip in place. Top stitch all the way around the entire shape of A securing B as well as giving the case a beautiful finished look.
Now you can safely travel with your OLFA tools or use the loop to hang the case on your design wall!
Enjoy!


