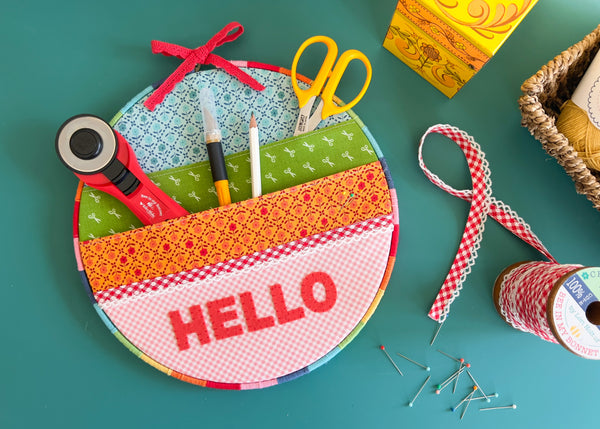
Colorful Tool Organizer Wall Hoop

Designer: Marcia Izabel Marchiori
YouTube: MarciaBel Vlog
Instagram: @marciabel
------------------------------------
One of the craft tools I love the most is the embroidery hoop. Besides using them for their practical purposes, which is to keep your fabric taut while stitching, they work amazing as decorative frames on the wall, giving a special crafty look to your final projects. It’s even better when we can combine and create a beautiful wall display that is also useful: a colorful tool organizer!
So let’s make it:
Tools & Supplies Needed
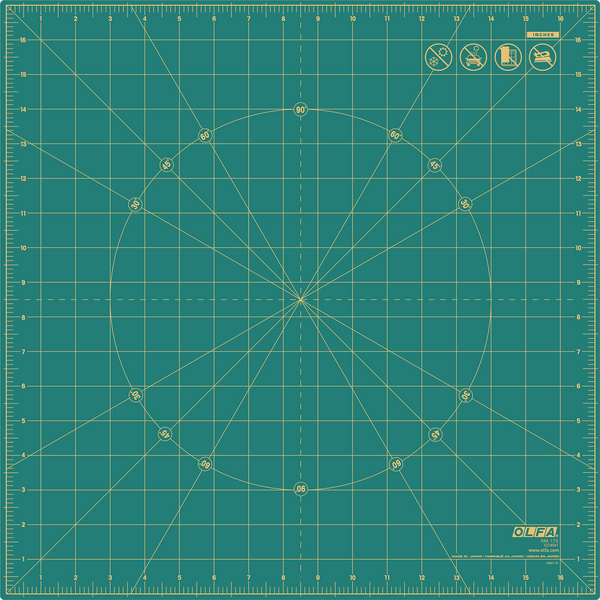
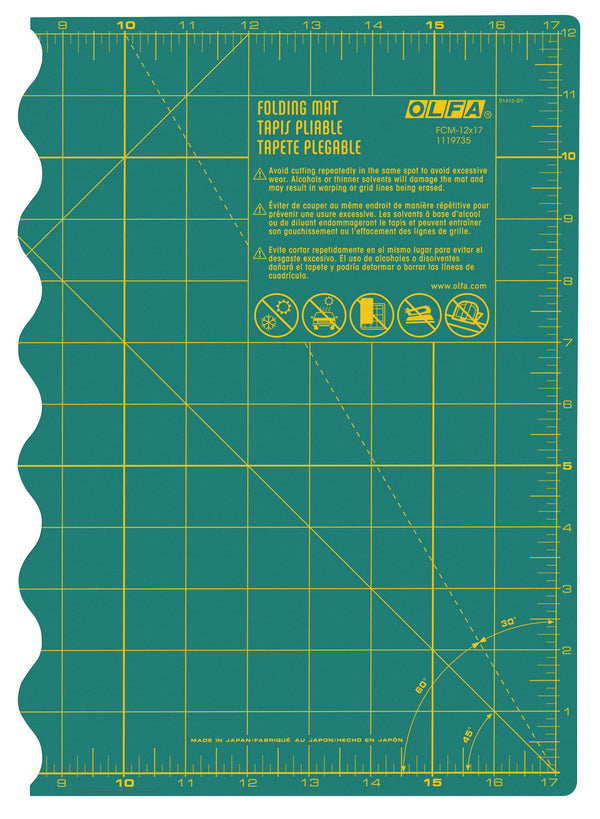
- OLFA RM-17S 17" Rotating, Self-Healing Cutting Mat (used with rotary cutter) and FCM-12x17 12" X 17" Folding Cutting Mat (used with Ak-4 knife)
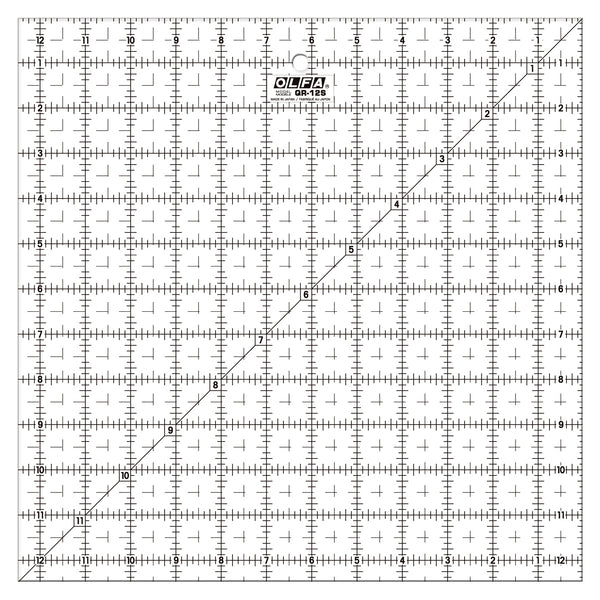
- OLFA QR-12S 12 1/2" Square Frosted Acrylic Ruler
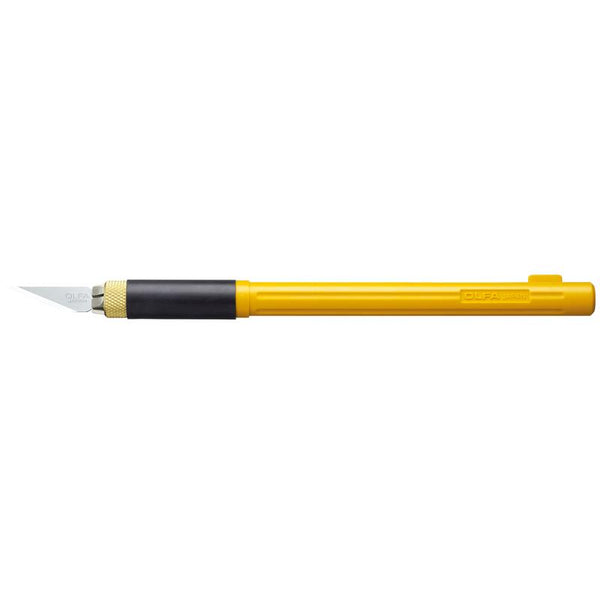
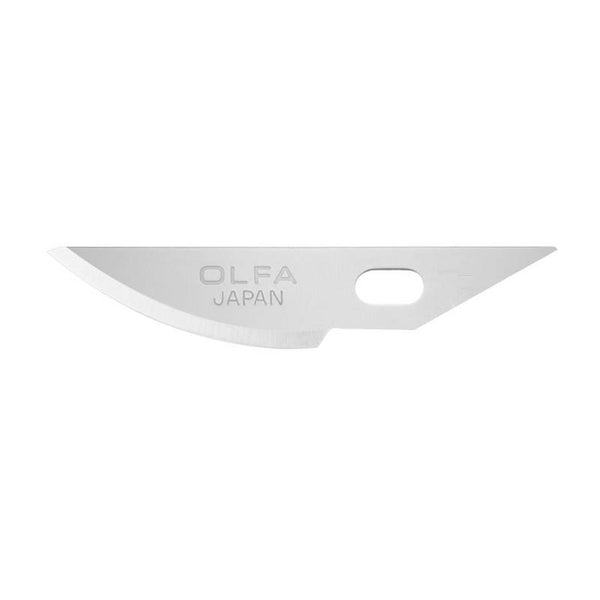
- OLFA AK-4 Cushion Grip Art Knife, paired with OLFA KB4-R/5 Curved Carving Art Blade, 5pk
- OLFA RTY-2C-RED Quick-Change 45mm Red Rotary Cutter Bee in my Bonet by Lori Holt
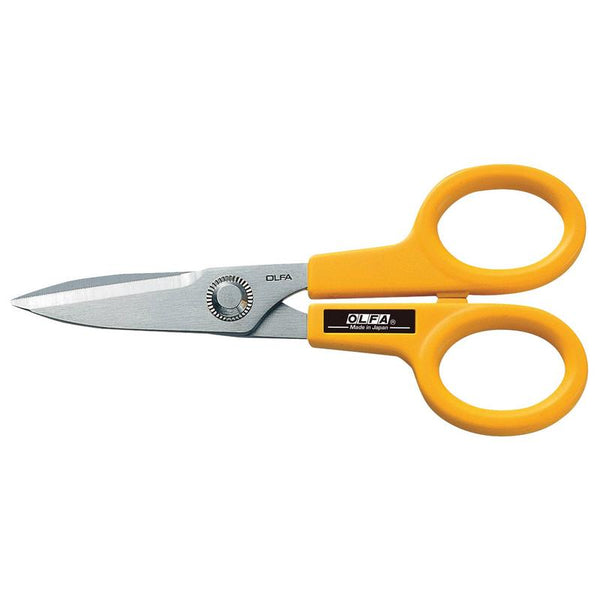
- OLFA 5-Inch SCS-1 Serrated-Edge Stainless Steel Scissors
- 10” Wooden Embroidery Hoop
- Red Coral Felt (about 2” x 6”)
- Thermo O Web HeatnBond Lite Iron-On Adhesive (about 2” x 6”)
- Thermo O Web iCraft Easy-Tear 1/4" double sided tape
- Riley Blake Designs Bee Cute Lace Color Assortment #2 STVL-3634
- Riley Blake Designs Bias Tape with Crochet Edge: Red Gingham ST-17316
- Pencil, eraser, measuring tape
- Optional: embroidery floss and needles
Fabric List, from Riley Blake Designs:
- 12 1/2” x 12 1/2” BLUE FABRIC: Plaids by Lori Holt of Bee in my Bonnet 100% cotton - Cottage Bee Plaids Zinnia (C12024-COTTAGE)
- 12 1/2” x 16 1/2” GREEN FABRIC: Bee Basics by Lori Holt of Bee in my Bonnet 100% cotton - Green Scissor (C6408-GREEN)
- 12 1/2” x 8 3/4” ORANGE/YELLOW FABRIC: Plaids by Lori Holt of Bee in my Bonnet 100% cotton - Autumn Bee Plaids Zinnia (C12024-AUTUMN)
- 12 1/2” x 5 1/4” RED FABRIC: Bee Ginghams by Lori Holt of Bee in my Bonnet 100% cotton - Coral Kassidy (C12557-CORAL)
100% Cotton Chunky Thread by Lori Holt of Bee in my Bonnet, from Riley Blake Designs in the following colors:
- Denim STCT-8521
- Aqua STCT-8522
- Red STCT-8525
- Peony STCT-8524
- Pumpkin STCT-10903
- Beehive STCT-8520
- Spring Green STCT-2669
Instructions
- Gather all tools and materials.
Important Tip: Be sure that your wooden hoop opens enough to hold all the fabric layers of this project AND the thread wrapping.
- Start decorating and thread wrapping your hoop: choose colors that compliment your design. Here I decided to have a very colorful rainbow vibe.
With the aid of a string, measure the perimeter from outside of the circle. Mine measured approximately 32”.
- As I’m using 7 thread colors in total, and I’d like each color to repeat 4 times (so 7x4=28), I divided the 32” by 28, marking each section with a pencil on the outer part of the hoop.
- Unscrew the hoop, then apply double sided tape by small sections.
- Start wrapping the thread. This is how it will look like after finished:
TIP: Make sure to choose a thread that it’s not too thick as we don’t want to take too much space from the inside of the hoop. These thread from RBD are great for this project, as they are not too fluffy and not too thin (otherwise it’d take twice as long to wrap the entire hoop).
- Cut all of the fabrics to size as specified above, using OLFA rotary mat, 12 1/2”square ruler and OLFA rotary cutter.
- Base fabric: the background of the hoop will be the blue fabric, so it is not folded at all. Set aside.
- First pocket: fold the green fabric in half, ironing the fold to get a crisp crease. Then, sew a simple straight line in the sewing machine, making the line across and close to the folded edge to secure the fabrics.
- Second pocket: sew both red gingham and orange fabrics together and, after ready fold the fabric in half: this layer should form an orange edge on top.
- Then cut RB crochet edge to size and sew it across the edge between fabrics:
All the layers should be assembled like this:
- “HELLO” Lettering: to make these letters, go to any word processing software (such as Word Office or Pages), choose the font Arial Black and print the letters with a size that will fit on the red fabric of the hoop (I have used size 123pt to this project). Cut the letters to size to use as templates.
- Cut the rectangles of felt and interface, iron them together. With a pencil or pen and the templates, draw on the interface paper the letters mirrored.
- With the AK-4 knife and curved blade, cut out each mirrored letter.
- After all the letters are ready, peel off the interface paper, position the letters on top of the gingham fabric and press them with an iron.
Tip: As the felt is a very delicate material, I like to iron it with the Therm O Web Pressing Paper.
- OPTIONAL: When you finish ironing, the felt letters will be well secured in place. But as an extra step, I like to finish these letters embroidering them to the fabric. It’s not essential, but it looks beautiful with this detail:
- Now it’s time to assemble the hoop. Place the embroidery hoop underneath all the layers of fabric together, then place the front embroidery hoop on top and gently push it down. Tighten the screw at the top of the embroidery hoop and flip it over. If needed, tug the fabric on either side until it’s nice and tight.
- Trim the excess fabric outside of the hoop to about 3/4″. Using the double sided tape or hot glue, adhere the extra fabric to the inside of the inner hoop on the wrong side.
- Make a bow using Riley Blake Designs Bee Cute red lace and attach on top of screw.
And that’s it! Your tool organizer is ready to hang on the wall!
I hope you have lots of fun making this and don’t forget to tag me @marciabel , @OLFA_craft and @rileyblakedesigns in your finished projects, we would love to see your piece of art!
Marcia


