Colorful Crepe Paper Flower Garland

Designer: Marcia Izabel Marchiori
YouTube: MarciaBel Vlog
Instagram: @marciabel
------------------------------------
Springtime is a beautiful season to welcome in some fresh colors and decorations into your home. One of the easiest ways to add a touch of beauty to your home is by making a colorful paper flower garland! With just a few supplies, you can create a stunning decoration that will brighten up any room.
In this tutorial, I will show you how to make a paper flower garland from scratch, step-by-step, so you can create your own beautiful decoration to celebrate this beautiful season.
For this paper flower garland, I drew inspiration from the delicate and elegant dogwood flowers:
These beauties bloom in the springtime and have a unique shape. They come in shades of pink and white, but I’ve added a couple of extra colors to the mix to make it even more interesting! :-)
Whether you're an experienced crafter or a beginner, this DIY project is simple and fun, so let's get started!
Tools & Supplies Needed
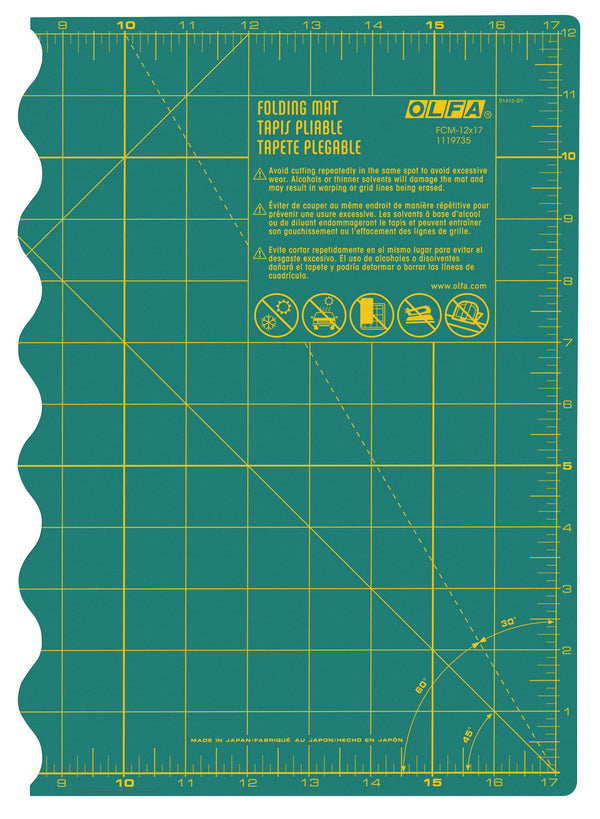
- OLFA FCM-12x17 12" X 17" Folding Cutting Mat
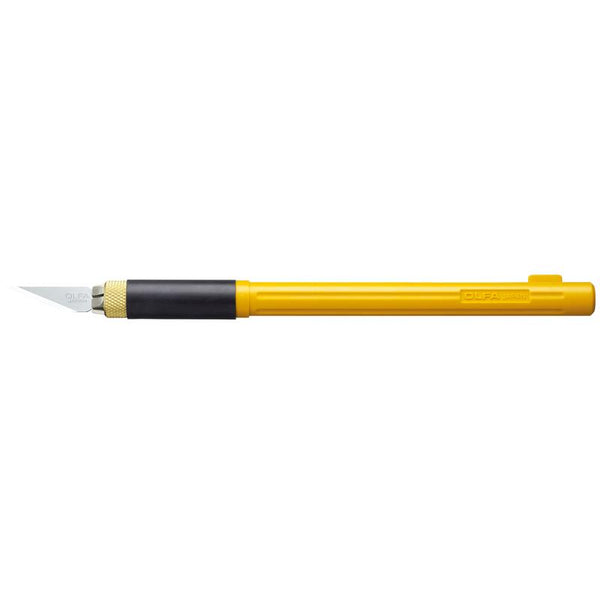
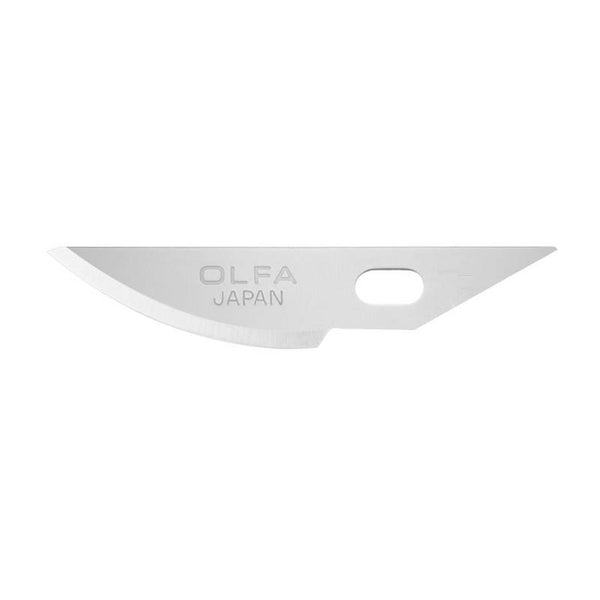
- OLFA AK-4 Cushion Grip Art Knife, paired with OLFA KB4-R/5 Curved Carving Art Blade, 5pk
- OLFA 5-Inch SCS-4 Precision Appliqué Scissors
- Medium-weight crepe paper in assorted colors (used in this project: shades of pink, turquoise, purple, yellow and green)
- 100% Cotton Chunky Thread by Lori Holt of Bee in my Bonnet, from Riley Blake Designs - Spring Green STCT-2669
- Needles (used: Riley Blake Designs Lori Holt Chunky Nifty Needles)
- Acrylic paint or marker (colors: white, brown)
- Printing paper (for templates)
- Pencil, eraser
- Glue gun
Instructions
- Print template to scale. Gather all tools and materials.
- To make the flower stamens, cut rectangles of crepe paper according to template (I’ve used yellow and green colors), with the grain running vertically - see picture below. Fold the crepe paper in half against the grain.
- Make narrow cuts (about 1/16”) into the folded side of the crepe paper to create a fringe. Wrap the fringe around itself, securing it with hot glue.
- Using templates, trace 4 petals for each flower onto crepe paper, with grain running vertically. Trace all the leaves as well.
- Using OLFA AK-4 art knife paired with curved carving art blade, cut all pieces. In this step you have the option of using OLFA appliqué scissors instead of the art knife, but I personally prefer to use the art knife, as I can seamlessly cut all the petal angles, with precision.
- Using a flat brush and acrylic paint, or markers, add color to each petal edge, according to below:
- Gently stretch the middle of each piece with your fingers to form the petal.
- Using hot glue gun, attach each petal to the stamen around the base evenly, slightly juxtaposing the petals.
- Cut a strip of green crepe paper (about 1/2” x 1 1/2”), with grain running vertically. Wrap it around the base of the flower.
- With a squeegee tool, slightly curve one side of each one of the leaves.
Here are all the flowers and leaves, almost ready to be assembled:
- Using glue gun, attach two leaves to each flower (gluing each one to opposite sides).
- Using three strands of wool and the chunky needle, assemble the garland passing the needle through each flower stem (tying both ends when finished):
And that’s it! Wherever you display it, it is guaranteed to bring joy and the spring vibes into your home!
Don’t forget to tag me @marciabel and @OLFA_craft in your finished cards, we would love to see your piece of art!
Happy Spring!
Marcia


