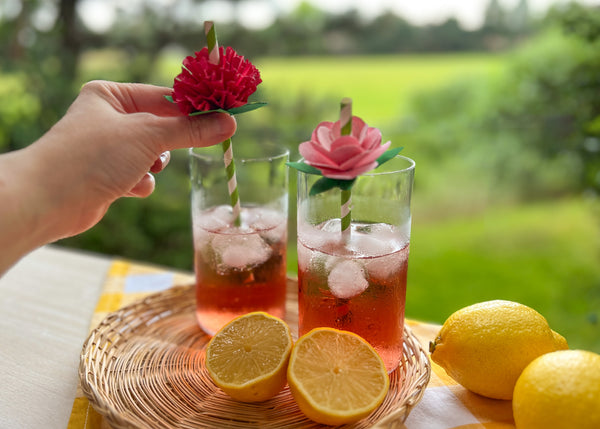
Blooming Straws: An Easy DIY to Elevate Your Summer Sips!

Designer: Marcia Izabel Marchiori
YouTube: MarciaBel Vlog
Instagram: @marciabel
------------------------------------
Summer's warmth and charm are still in full swing, and there's no way we're bidding farewell to the sunshine just yet! What better way to savor the remaining weeks of this delightful season than by relishing a refreshing iced tea or zesty lemonade amidst the great outdoors? I've got a fantastic idea to make these sips even more enjoyable: beautifully decorated straws adorned with paper flowers!
If you're familiar with my crafty endeavors, you'd know that I have a soft spot for handmade flowers of all kinds, so trust me when I say that these paper flower straws are not only incredibly easy but also very fun to make! Picture this: your table transformed into a dazzling display of blooming straws in just 1-2-3!
But wait, there's more! These charming creations can also double up as adorable cake or cupcake toppers, instantly turning any gathering or party into a magical garden oasis!
So, are you ready to add a touch of floral elegance to your summer sips? Let's dive into this delightful tutorial and create these enchanting paper flower straws together!

Tools & Supplies
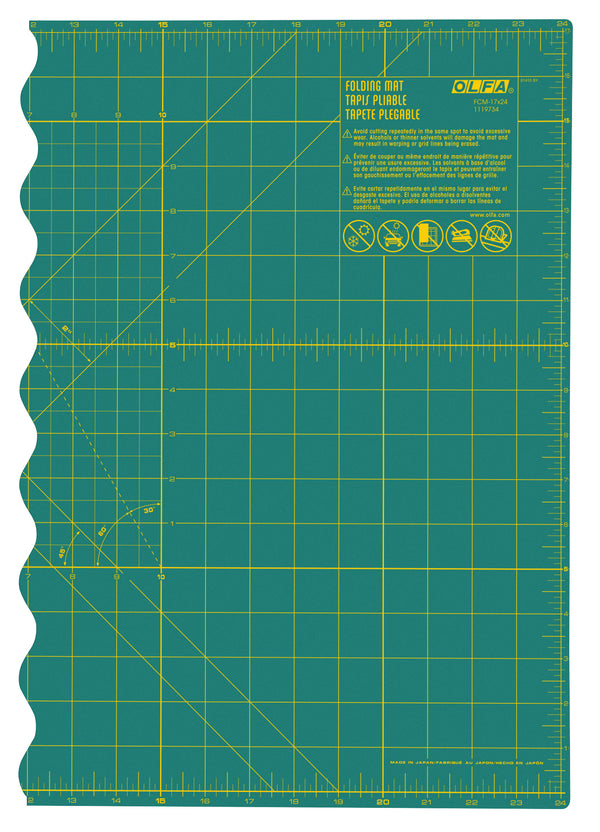
- OLFA FCM-12x17 12" X 17" Folding Cutting Mat
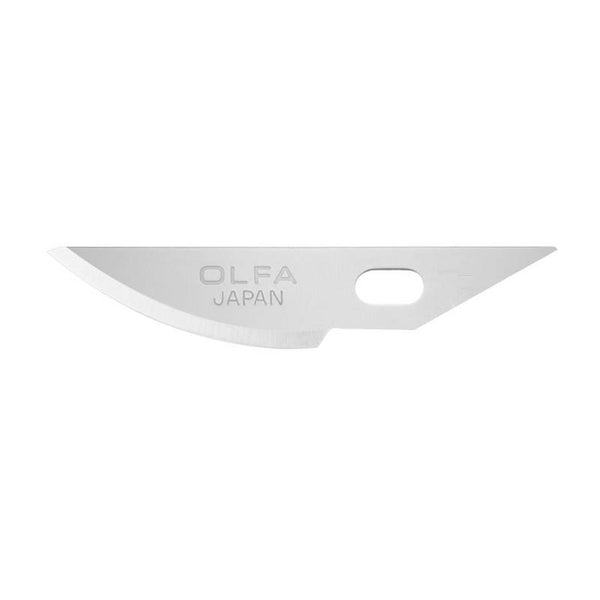
- OLFA AK-4 Cushion Grip Art Knife, paired with OLFA KB4-R/5 Curved Carving Art Blade, 5pk
- OLFA QR-6x12 6" X 12" Frosted Acrylic Ruler
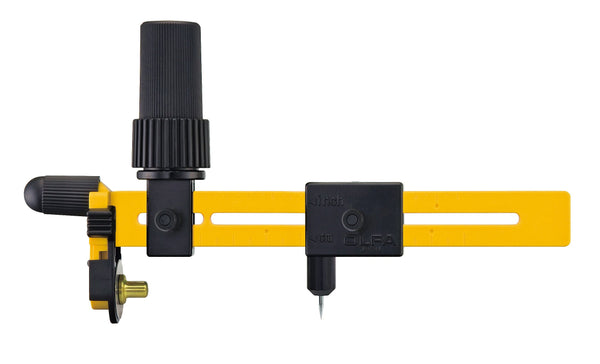
- OLFA CMP-3 Rotary Circle Cutter
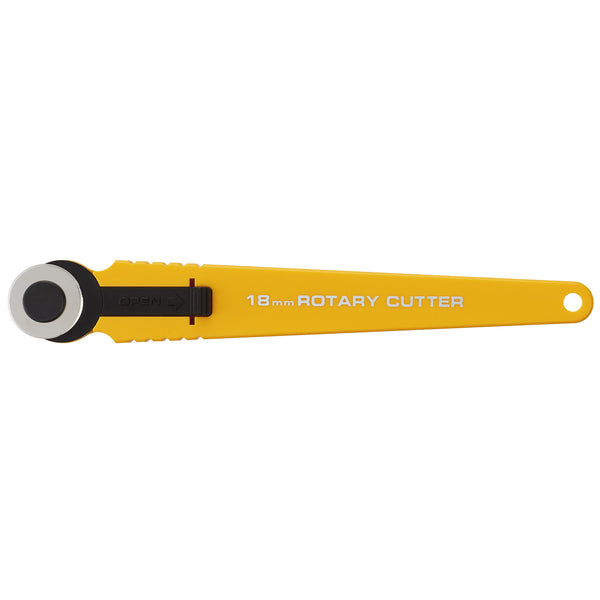
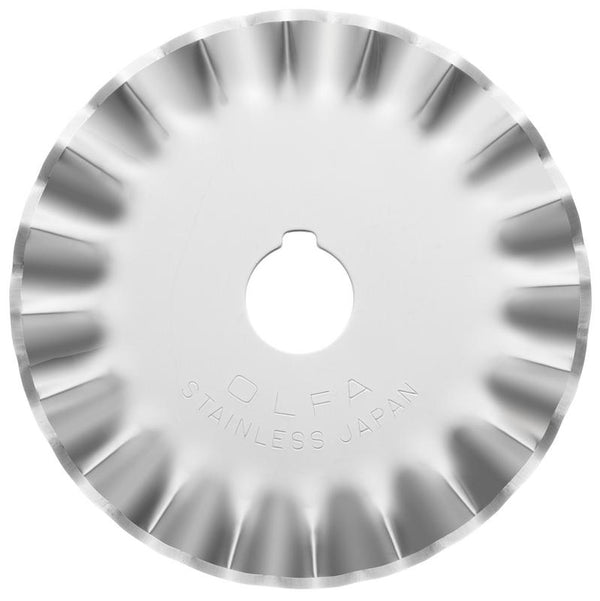
- OLFA RTY-2DX/MAG 45mm Ergonomic Rotary Cutter, paired with OLFA PIB45-1 Stainless Steel Pinking Blade, 1pk
- Optional: OLFA 18mm RTY-4 Quick-Change Rotary Cutter
- Paper straws
- Glue stick, hot glue
- Light weight letter size cardstock paper (8 1/2”x 11”) - assorted colors (used in this project: two hues of pink and green, for sepals)
- Pencil and eraser

Instructions
FLOWER OPTION 1:
Let’s start making the petals.
Begin by cutting out 2 3/4” squares from a letter size pink cardstock paper, with the help of your OLFA acrylic ruler, rotary cutter or art knife, and the mat grid. First, cut out three strips from the length (11” side of the paper)

Cut out the squares out of the width of the sheet.
Tip: Cutting 2 3/4" squares out of a letter size paper is a great way to optimize the use of the entire sheet.

Fold each square following these 3 simples steps below:

Trace the petals with a pencil. Then, using your OLFA art knife, paired with the curved carving art blade, cut out each petal freehand.


Make a small cut in the center of each petal, a circle big enough to fit a paper straw, then unfold squares. You’ll have a total of four layers:

As shown below:
- Layer 1 - cut one petal out
- Layer 2 - cut two petals out
- Layer 3 - cut three petals out
- Layer 4 - cut four petals out

Using the glue gun, adhere edges of each layer together, around the straw one by one, beginning inserting into it with layer 4 - then 3, 2 and 1.


Making the sepal - Follow the same steps of petals: fold the green cardstock square, trace a leaf with a pencil, then using your OLFA art knife, cut out the leaf. Unfold it and insert into the straw.


The first one is ready!
FLOWER OPTION 2:
Using your OLFA Rotary Circle Cutter, cut a 2 3/4” circle out of five paper squares (you can easily find the center of each square lightly folding the it in half both ways).

Fold in half both ways, then fold again once more.
Using your OLFA rotary cutter, paired with Pinking Blade, cut the circle edge.

With OLFA art knife, paired with the curved carving art blade, make a cut in the middle of folded line, not cutting all the way to center.

Unfold circles, also making cuts in the remaining uncut folds.

Make a small cut in the center of petal, a circle with the size enough to fit a paper straw.

Gently fold each petal in half.

Insert the flower layers, one by one, into the straw.


Make the sepal using the same technique of option 1, insert into the straw.

The flowers are ready!


I hope you have lots of fun making these :-) Please don’t forget to tag me @marciabel and @OLFA_craft on your finished projects!
Enjoy your summer!
Marcia