Animal Themed Hooded Towels For The Beach Or Pool!

Designer: Mary Stanley
Instagram: @whatmommamakesig
-------------------------------------------------
Tools and Supplies Needed:
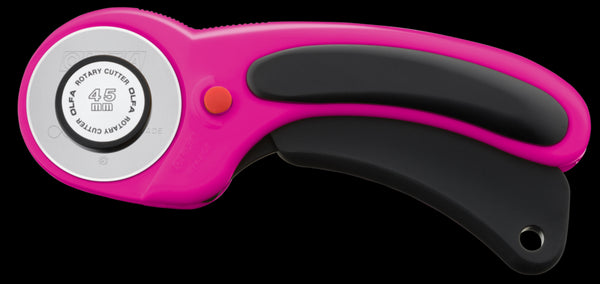
- OLFA RTY-2DX/MAG 45mm Ergonomic Rotary Cutter
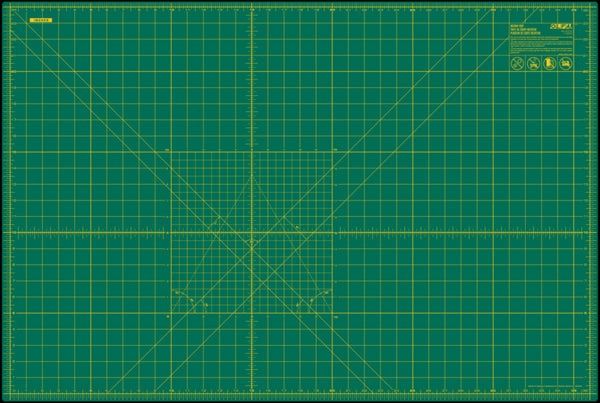
- OLFA RM-MG 24" X 36" Green Double-Sided, Self-Healing Rotary Mat
- OLFA QR-6x24 6" X 24" Frosted Acrylic Ruler
- Free Molly Hood Download from Violette Field Threads
- Light Weight Towel – bath towels would not be recommended as they would be too thick for sewing multiple layers in many personal machines. I am using lightweight, handwoven beach towels for mine.
- Fabric for hood/animal pieces (fabric scraps work great for these pieces!)
- OPTIONAL: Stabilizer or interfacing if wanting stiffer earpieces or dino scales
If you’ve got kids or grandkids who love the beach or pool, this hooded beach towel is such a great project to make them a fun gift that they will use over and over again for years to come!
First off, you’ll need to print out your Free hood pattern pieces and decide which animal ears you’d like to create (or you can leave them off as well and just create the simple hood). I am doing both a bunny for my daughter and a dinosaur for my son.
These pieces are a great way to use up fabric scraps you have on hand and using your OLFA rotary cutter and cutting mat certainly makes cutting out these pieces a breeze!
Since the bunny instructions are already covered in the hood tutorial, I will be showing how to create the dino version, using the Cat earpiece included in the hood tutorial. Keep in mind, I am creating a size 9/10 so I am using the larger of the two cat earpieces, but if you are creating smaller than size 7, you would want to use the smaller of the earpieces so you can fit 5 along the hood.
You will cut 10 of the triangle pieces out in your fabric of choice, plus 5 earpieces in a stabilizer (in my case, I am using a waterproof laminated fabric I had on hand for these middle sections).
Next, you will want to sandwich 1 of your stabilizer pieces in between 2 of your main fabric pieces – with the right sides facing out and the wrong sides towards the middle.
Sew along the two sides with a 3/8” seam allowance, and then trim that seam allowance using pinking shears. You will end up with a total of 5 dinosaur spikes.
Next, you will place those 5 dino spikes on one of the right sides of the hood main pieces and baste them in place – 2 along the top of the hood and 3 along the back of the hood.
Now place the second hood main piece on top of the main with the right sides touching and the raw edges lining up. Pin together around the top and back curved edges and sew around the pinned seams with a ½” seam allowance. Repeat for the two hood lining pieces.
Next, trim off 1⁄2 of the seam allowance and clip the corners. Turn right side out and iron flat. Then you will take one of the hood front panel pieces and lay it with the right side touching the right side of the hood piece and pin and sew with a ½” seam allowance. Repeat for lining layer.
Place the hood lining on top of the hood main with the right sides touching and the raw edges lining up. Sew with a ½” seam allowance along clipped edge of front of hood panel pieces.
Turn the hood right side out and iron the seams flat. Serge or zig zag stitch the main and lining layers together around the bottom curved raw edge.
Next you will find the center of one long towel edge where you want to attach the hood and mark with a clip or pin.
Now we will line up the center of the hood with the center mark on the towel and clip the hood in place with the right sides touching the outer side of the towel and the outer side of the hood.
Start from the center hood and working your way to the edges. Next, we will sew in place with a 3/8” seam allowance.
Now we will create some fund handles for the edges of the towels! Using your ruler and frosted rotary cutter, cut 2 strips of fabric measuring 2.5” x 7.5”.
Then we will fold them in half widthwise, with the right sides touching and sew along one short edge and one long edge with a ¼” seam allowance.
Next, trim back your seam allowance, clip the corner and then turn your tie right side out. Now topstitch around the 3 edges with a 1/8” seam allowance to help reinforce these “handles”.
Now we will open the towel up to the inside of it and measure over from the top side edge by 3 1/2” and baste the raw edge of one handle to the top of the towel. Repeat on opposite side of towel with the 2nd handle.
Now we will fold the top edge of the towel over by ½” and clip in place. This will enclose the top of the handles and will also bring the edge of the hood down so that the serged edge is on the inside of the towel. Sew with a 3/8” seam allowance.
Next, we will finish attaching the finished edge of our handle to the side of the towel by measuring down from the top of the towel 3 ½” and sewing it in place with a ¼” seam allowance.
And Voila! You have a super cute, hooded towel for the pool, beach or even after bath time!


