An Easy Easter Craft: DIY Carrot Candy Boxes

Designer: Marcia Izabel Marchiori
YouTube: MarciaBel Vlog
Instagram: @marciabel
----------------------------------
Level: Beginner
Easter is almost here, and I always feel inspired to make something sweet and handmade for this time of year! There is something so special about preparing little details for a celebration, especially when they are simple and made with love 🧡

Today I want to share a very cute and easy tutorial with you: we are going to make a treat box in a carrot shape, just perfect for small chocolates, candies, or little surprises. I love this project because it looks adorable, but it is also very simple to put together.

What I enjoy most about this tutorial is that it is so easy to repeat. You can make just one, or you can make many for your Easter table, for friends, for kids, or for a special gathering. It is a lovely way to add a handmade touch without feeling overwhelmed.
Let’s make it! 🥕✨

Tools & Supplies Needed
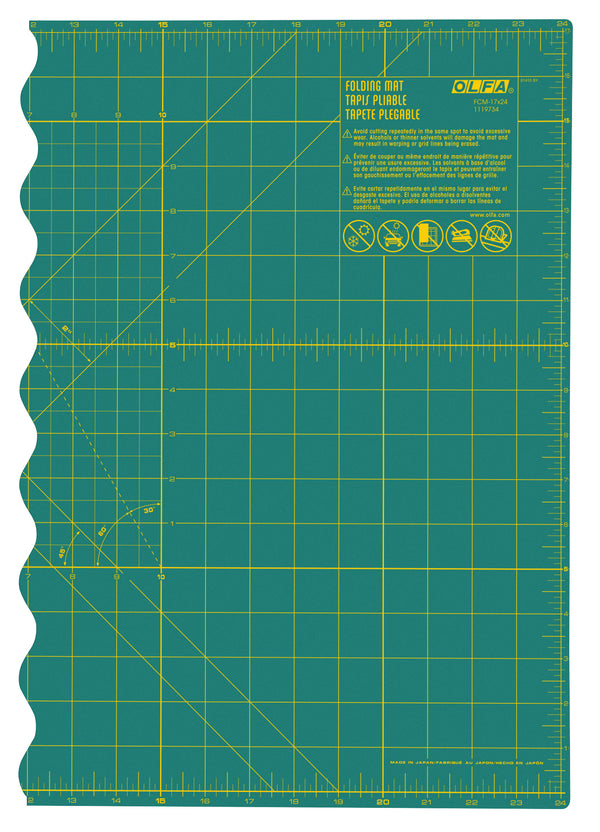
• OLFA FCM-12x17 12" x 17" Folding Cutting Mat
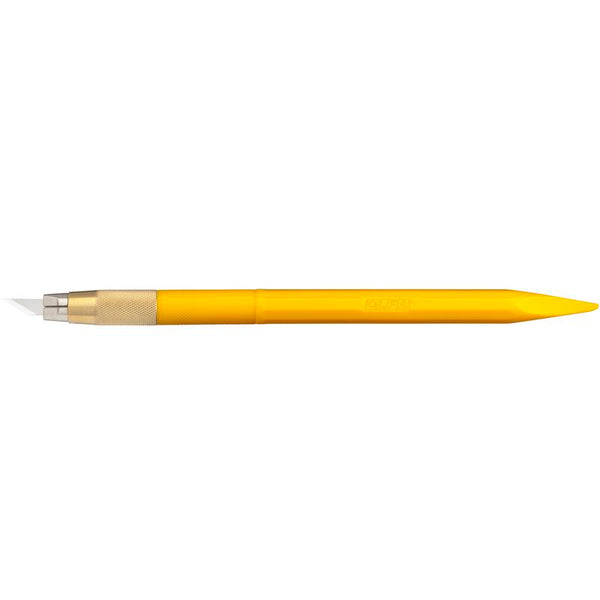
• OLFA AK-5 Designer Graphic Art Knife or AK-4 Cushion Grip Art Knife
• OLFA QR-1x12 1" x 12" Frosted Acrylic Ruler
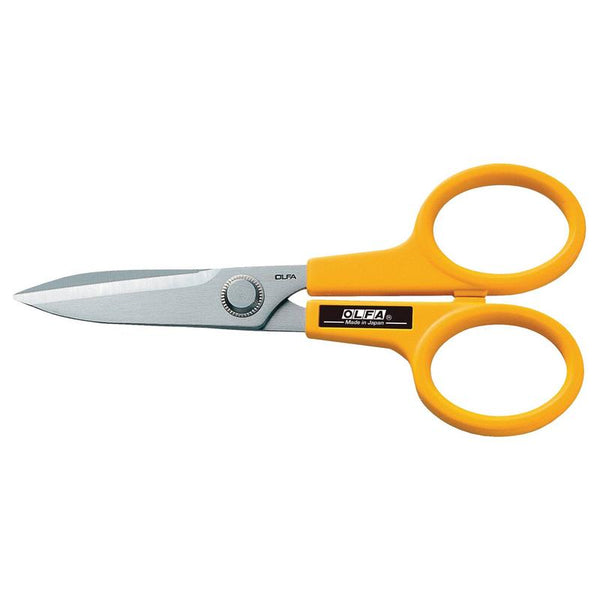
• OLFA 7-Inch SCS-2 Serrated-Edge Stainless Steel Scissors
• Orange 12" x 12” Scrapbook Paper (plain or patterned)
• Green Crepe Paper
• Ribbon (coordinating color)
• 1/4” Double-Sided Tape Adhesive Tape
• Optional: Water Based Marker (used: Posca)
• Chocolate Candies
Instructions
- First step is to use your OLFA mat, ruler, and art knife to cut your 12 x 12 inch scrapbook paper into four equal squares.


- Second step is optional, but I wanted to have a few different patterns for my carrots besides my plain orange cardstock. Feel free to skip this if you would like. I am using a Posca marker to draw lines, polka dots and mini hearts on three of the four orange squares.


- Now, using the tapered base of the OLFA Arti knife handle, score one side of the square 1 inch from the edge.

- Score the opposite side AND only one of the remaining sides 1/2 inch from the edge. You will have three sides scored in total.


- Apply double-sided tape to the edges of the two 1/2 inch scored sides, as shown below. Fold the 1/2 inch side you scored to the inside.


- Being careful not to crease the square in any other way, remove the protective paper from both 1/2 inch taped sides. Attach one side to the opposite edge, which is the only side without tape, securing the base too, as shown below:


- Using your OLFA ruler, measure the top opening of the carrot to make sure you have the correct width for the crepe paper. Then cut a rectangle of green crepe paper measuring double that width by 6 inches long.

- Apply double-sided tape along one of the longer edges of the crepe paper. Attach the crepe paper to the inside of the top opening of the carrot.


-
Using your OLFA scissors, cut fringes along the top edge, leaving about 2 inches at the base uncut. Then add candies inside the carrot and use a small piece of double-sided tape to close the top of the box.


- Close the box by tying a ribbon in a knot at the top.
 Your carrot favor boxes are ready!


I’d love to see your finished projects! Tag me @marciabel and @OLFA_craft so we can admire your adorable Easter favors.
Happy Easter!
Marcia