Adding Fringe to a Bag

Designer: Randa Roberts
IG: So Comfy Designs
-----------------------------------
You’ve got a bag in need of a glow up, and I’ve got a few ideas on how you can take high function and add some high fashion. Gather your OLFA, search for some leather, and let’s turn this:
Into this!
A dramatic transformation that you can DIY with the right tools, materials, and time. I’ll show you how I punched holes, cut long leather fringe, and used a basic knot to turn up the sass on a basic bag.
We’ve long loved fringe on clothing and bags, but Native American culture knew it’s practicality. They used the thin leather strips to wick away rain water. Today, leather fringe continues to be a country/boho fashion expression, and from personal experience, I can tell you that wearing something fringed is just a vibe.
The most challenging and extreme ideas come with a bag attached. I’ve fringed up my fair share of Louis’ (real and faux, but I’ll never tell) and every one of them teaches me a new technique. I truly relish the experience of unleashing my inner cowgirl, even if I’m 1% country. Being a huge fan of Yellowstone and Taylor Sheridan must count for something.
Once you get the basic idea and practice, there’s no limit to how you can embellish your bag with hand cut leather fringe. Here's where to start.
Tools and Materials:
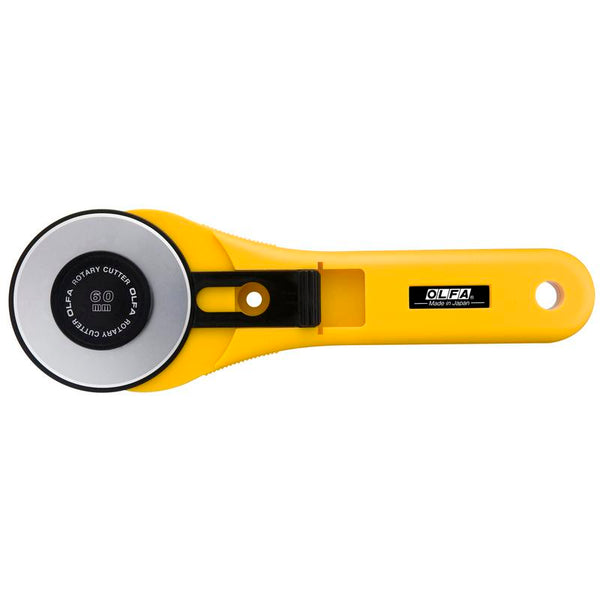
- OLFA 60mm RTY-3/G Straight Handle Rotary Cutter
- OLFA QR-6x24 6" X 24" Frosted Acrylic Ruler
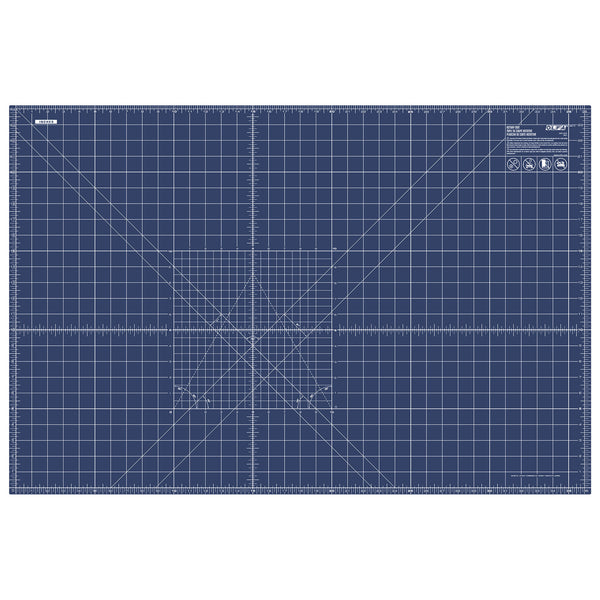
- OLFA RM-MG/NBL 24"X36 Double-Sided, Self-Healing Rotary Mat, Navy
- Hand Punch with 3mm hole
- Crochet hook
- Small bag to upcycle
- Leather
If you’re new to this, I recommend choosing a flat bag because it’s easy to use a hand punch around the edges. This Coach bag is a great size and shape to add fringe to. NOTE: if you are using anything other than a leather bag to punch holes in, you may experience tearing and fraying.
Using a hand punch with a 3mm hole size, punch all the way the way around the sides and bottom of bag, with .5” space between them. That’s enough to make a knot. Be sure to stop below the strap tabs.
Not all leather makes a great fringe. Cow leathers, which is most common in leather jackets and upholstery typically creates the flowing fringe we all love. Thin leathers tend to kink up and there’s nothing you can do about it. Occasionally I’ll need to order leather from a retail operation, I’ll ask for a 3oz, which is exactly what I’m using here.
TIP: to know how much leather to buy, measure along the sides of the bag, and that is the width of the leather you should order. The length is up to you. I used a piece that was 24” wide by 40” long for the fringed part.
In order to get perfectly hand-cut long fringe, I recommend using the 6x24” Frosted Acrylic ruler, a large cutting mat, such as the OLFA 24x36” double sided self-healing mat. The lined side ensures that your fringed pieces are nice and strait. NOTE: There are two handles for the 60mm rotary cutter. Both are wonderful. For this project, I’m using the strait handle, but for other fringe cutting jobs I use and enjoy the ergonomic handle because of its retractable blade. It helps create a rhythm to each cut, which helps when they’re repetitive.
I smooth the leather out, and decide on a side to start cutting. I line it up against one of the lines on the mat, and make a straight cut as close to the edge as possible. There’s my starting point. Here’s a look at how I cut extra-long fringe for knotting. Notice I’ve had to fold the leather in half.
Now I used a crochet hook to pull the long fringe pieces through, one at a time. Once through, the strands are evened out and then tied together in a secure knot.
Repeat.
There you have it – quite a transformation. I’ve added a few designer touches, such as the braided strap and leather lacing. These are fun and easy to learn by watching one of the many videos available online.
So, are you running to your closet to find a bag to add some leather fringe to? I certainly hope so. See you for my next post, which will be a before and after that will answer this burning question: “what can I turn my old leather boot into?” Let’s see if we came up with the same ideas.


