A Pocket Hug in a Tag: A Handmade Valentine’s Day Tutorial

Designer: Marcia Izabel Marchiori
YouTube: MarciaBel Vlog
Instagram: @marciabel
----------------------------------
Level: Beginner
 Valentine’s Day is about love and also a beautiful time to celebrate friendship, care, and small gestures that come from the heart. For this tutorial, I’m sharing a handmade Valentine’s tag that is simple, meaningful, and perfect to give to friends or anyone who could use a little extra love.
This box-shaped tag opens to reveal a small felt heart inside, like a quiet surprise waiting to be discovered. On the front, I added a simple felt heart, and inside, a sweet message that can be shared with anyone you care about. I love this project because it’s easy to make, uses simple materials, and still carries a lot of meaning. This tag can be tied to a gift, tucked into a journal, slipped into a bag, or sent in the mail as a small reminder that someone is thinking of you.
 So let’s learn how to make it!
Tools & Supplies Needed 
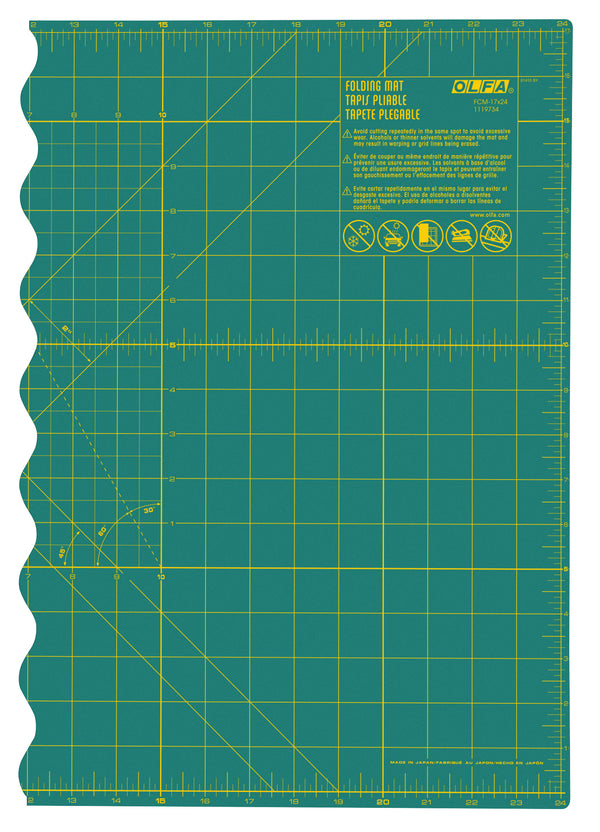
• OLFA FCM-12x17 12" x 17" Folding Cutting Mat
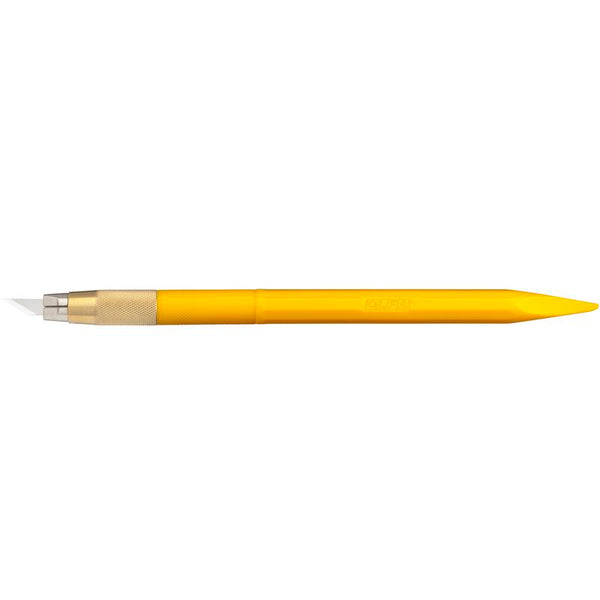
• OLFA AK-5 Designer Graphic Art Knife
- Pink version shown can be found here: OLFA Rotary Cutter Craft Set - 45mm RTY-2C/AK-5/TK-4/PIK Combo Pack Quick-Change with Art and Touch Knife, Pink
• OLFA R-1x12 1" x 12" Frosted Acrylic Ruler
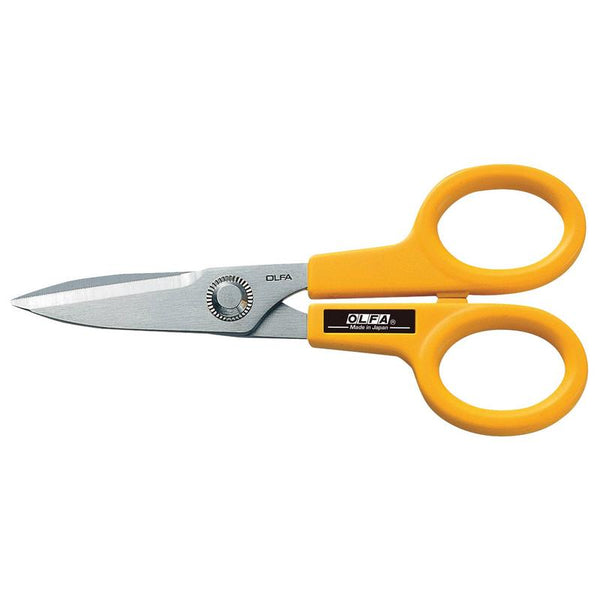
• OLFA 5-Inch SCS-1 Serrated-Edge Stainless Steel Scissors
• 8-1/2" x 11" heavy cardstock, suitable for printing
• Felt (about 2" x 7" for each box-shaped tag)
• Fabric scrap (about 2" x 2" for each tag, color coordinating with the felt)
• HeatnBond Lite Iron-On Adhesive (for fabric)
• Ribbon and baker’s twine
• Double-sided adhesive tape
• Embroidery floss matching the felt color
• Mechanical label embosser with tape (optional, but it adds charm to the tag)
• Embroidery needle
• Polyester fill
• Hole punch tool for tag
• Printer, pencil, erasable pen (I used Pilot Frixion)
• Iron (to apply interfacing to fabric)
Instructions
- Print the star templates HERE onto heavy cardstock.
Notes: This printed template includes two boxes per sheet. If you don’t have a printer, I’ll also share the measurements of the box. It’s a very simple shape and easy to trace directly onto paper using a ruler and pencil.
- Using your OLFA cutting mat, ruler, and the tapered base of the art knife handle, score all the fold lines as shown below. Make sure to score both pieces of the box. - Using your OLFA ruler and art knife, cut all the straight lines.
 - Fold along the scored lines to reinforce the creases. Using double-sided adhesive tape, assemble the first part of the box. Be sure to leave the tabs attached, cutting only one side, as shown here. These tabs are needed to assemble the box.


- Still using double-sided tape, adhere a piece of ribbon to the center inside of the second box piece, which will be the cover. I included a printed guide dashed line on the template to make alignment easier.

- If you plan to use the box as a tag, punch a hole on the side of the box now.

- Using OLFA art knife or scissors, cut out the paper heart templates. Then trace the HEART 1 template three times onto felt using an erasable pen.

- Carefully cut all three felt hearts using OLFA scissors or the art knife. - Using double-sided tape (optional: hot glue), adhere one felt heart to the front of the box cover. Add the embossed label (with the message: "POCKET HUG”), if you’re using one.
 - Using double-sided adhesive tape, adhere the inside box tabs, then this piece to the cover.

Your box is now fully assembled.
- Iron the fabric and interfacing together according to the manufacturer’s instructions. - Using a pencil or pen, trace the HEART 2 template onto the paper side of the interfacing. Then cut out the heart shape using OLFA scissors or art knife. Peel off the paper backing from the interfacing, place the fabric right side up onto one felt heart, and press with an iron. This step secures the fabric to the felt and helps prevent the fabric from fraying.

 - Begin stitching the pocket hug by adding simple running stitches through the fabric and one layer of felt, for a small decorative touch.
 - Position a folded piece of ribbon between the two felt heart layers, placing it at the top.
  - Using blanket stitches, sew the two hearts together. Before closing the final stitches, gently insert polyester fill into the heart.
Your pocket hug is now ready! Place it inside the box, close the box, and tie it with a bow. Your small handmade gift is finished and ready to share ♥️


Tag me @marciabel and @OLFA_craft so we can admire your beautiful Pocket-Hug Tags! And always remember: sometimes the smallest handmade things say the most 🥰
Happy Valentine’s Day!
Marcia