A Cozy Thanksgiving Favor: Cookie Wrapper With 3D Paper Pumpkin & Tag

Designer: Marcia Izabel Marchiori
YouTube: MarciaBel Vlog
Instagram: @marciabel
---------------------------------------

Thanksgiving is a time to celebrate and give thanks, and what better way to set the tone for your gathering than with a beautifully decorated table?
In this tutorial, I'll show you how to create charming 3D paper pumpkin cookie wrappers that not only hold sweet treats but also add a touch of autumnal charm to your Thanksgiving table setting. Using warm, rustic colors and cozy vibes, this project is the perfect way to set the mood for a memorable Thanksgiving feast.
As a bonus, they come with a tag that can double as a table name placement, adding a personal touch to your gathering. Let's get started with this step-by-step guide.

Tools & Supplies Needed
- OLFA CM-9x12-01/YEL Double-Sided Self-Healing Cutting Mat
- OLFA QR-1x12 1" X 12" Frosted Acrylic Ruler
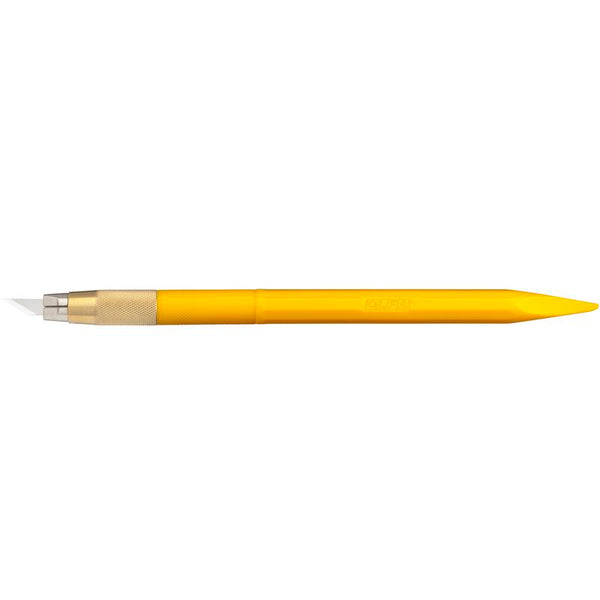
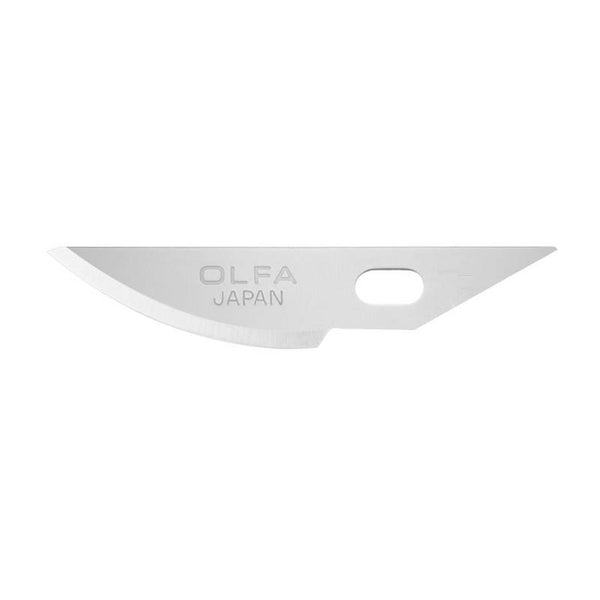
- OLFA AK-4 Cushion Grip Art Knife, paired with OLFA KB4-R/5 Curved Carving Art Blade, 5pk
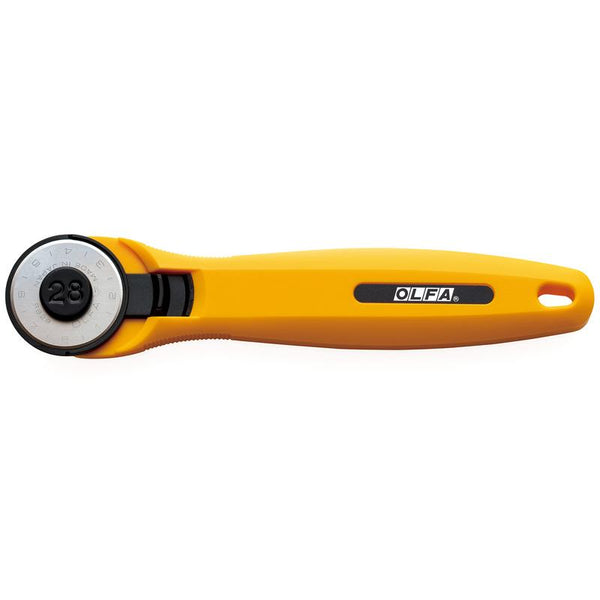
- OLFA 28mm RTY-1/C Quick-Change Rotary Cutter
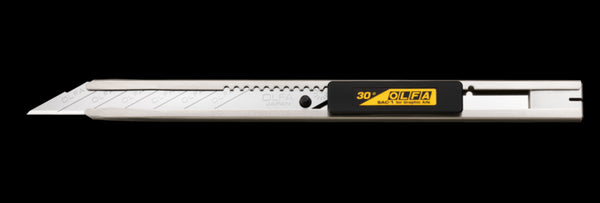
- OLFA 9mm SAC-1 Stainless-Steel Graphics Knife With 30-Degree Precision Blade
- OLFA AK-5 Designer Graphic Art Knife With 30 Replacement Blades (used: the tapered base side of the handle, for scoring)
- White and/or Orange Cardstock, letter size (as needed, one sheet per box)
- Kraft Paper, letter size (as needed, one sheet per box)
- Coordinating fabric (as needed, approximately one letter size per box)
- Green Grosgrain Ribbon (app. 23” length per box)
- Thermo O Web iCraft StickyDOTS die-cut transfer adhesive OR iCraft Memory Tape Runner
- Therm O Web Zots Singles Medium Adhesive Dots
- Therm O Web Iron-Adhesive Heat-n-Bond (interface)
- Pencil, eraser, printer.
- Coordinating Fabric Napkins (as needed)
- Iron and ironing board
Instructions
- Start by printing the templates to scale according to the following instructions.
Sheet 1: kraft paper
Sheet 2 (option 1): white cardstock
Sheet 3 (option 2): orange textured cardstock
For an extra layer of elegance, you can create a double-sided paper/fabric for the box. While this step is optional (as you can make a box using kraft paper only), it certainly enhances the overall look. :-)
- Use OLFA rotary cutter, ruler and mat to cut fabric to letter size, following the printed template as a guide (sheet 1).

This is what you should have so far, as a result:

- Now, iron the interface onto the back of the fabric, following the Therm O Web instructions for the best results.

- Carefully remove the protective sheet from the interface.

- Align the printed template (sheet 1) with the interface/fabric, ensuring the wrong sides are together. Then, iron them to adhere everything together seamlessly.


- It's time to cut out the template. Start with all the straight lines of the box and tag, using an OLFA graphics knife and ruler. Then, for the curved edges of the box, use the OLFA AK-4 art knife paired with a curved blade.


Now it’s time to make the 3D pumpkin! For this step, you have two options for creating your pumpkins: you can use patterned paper template (sheet 2) or orange cardstock (sheet 3). You can even mix both styles for each plate on your table, for a unique tablescape.
- Using an OLFA graphics knife and ruler, cut along line 1 of the template. Then, score the paper along lines 2A and 2B. Fold along these scored lines.


- Using OLFA AK-4 art knife paired with a curved blade, hand cut out all the six pumpkin pieces.

This is the result so far:

- Use Therm O Web StickyDOTS transfer adhesive as per the manufacturer's instructions to apply adhesive to the pumpkins: peel back top liner, place all pumpkins face up on adhesive, replace top liner and gently rub over the pieces.

- Lift the liner, remove each pumpkin, and adhere five pieces together, alternating patterns. Finish the pumpkin by adhering the final piece to the back.


Time to assemble everything below together!

- Fold each side of the box in the order shown, using ZOTS adhesive dots to keep each tab in place.


- Insert a ribbon through the holes in the box to hold it together with the napkin. Tie a bow and adhere the tag underneath.
For the tags, you can choose from pre-written option (“give thanks”) or use the blank option to handwrite your guests' names for personalized place settings.

- Attach the 3D paper pumpkin to one side of the box using ZOTS adhesive dots.

Your charming 3D paper pumpkin cookie wrappers are now ready to make your Thanksgiving table truly special and unique.

Don’t forget to tag me @marciabel and @OLFA_craft in your finished table setting, we would love to see the results!
Happy Thanksgiving!
Marcia