Ensemble à travers les saisons : carte à changer de photo DIY

Créateur : Marcia Izabel Marchiori
YouTube : MarciaBel Vlog
Instagram: @marciabel
---------------------------------------
Niveau : Débutant
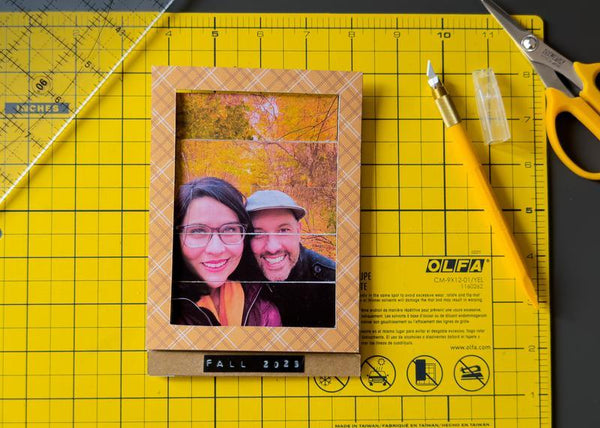
Si vous aimez l'artisanat significatif et souhaitez une façon créative de partager un souvenir, cette carte de changement de photo DIY est un beau projet. Le recto de la carte présente deux photos qui se retournent en tirant doucement, montrant un aperçu de la façon dont le temps passe, tout comme les saisons.
Dans ce tutoriel, je’Je vais vous montrer comment réaliser une carte faite à la main à l'aide de deux photos : l'une a été prise dans la chaleur de l'été et l'autre lors d'une promenade en automne. Lorsque vous tirez sur la languette, la photo du haut se retourne pour révéler la seconde en dessous, créant une jolie surprise. 


L'intérieur de la carte pliée est laissé vierge, vous pouvez donc écrire une note ou un message personnel.
TIP : Cette technique de flip photo est également une excellente idée pour les mises en page d'albums, de journaux de voyage ou pour tout projet dans lequel vous souhaitez inclure plus d'une image de manière amusante.
Laissez’Commençons par cette charmante petite carte qui célèbre le temps, l’amour et la créativité.

Fournitures :
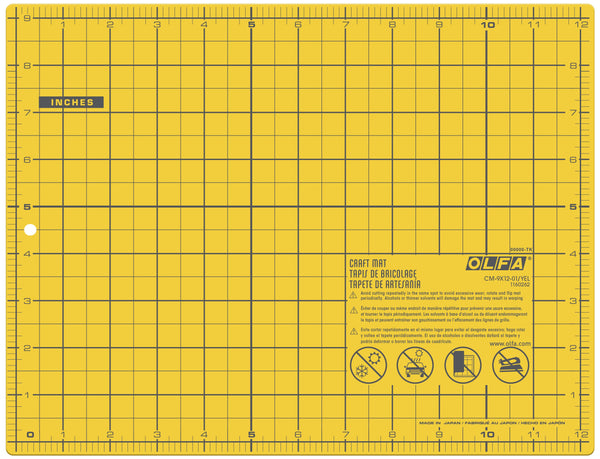
OLFA CM-9x12-01/YEL Tapis de découpe auto-cicatrisant double face
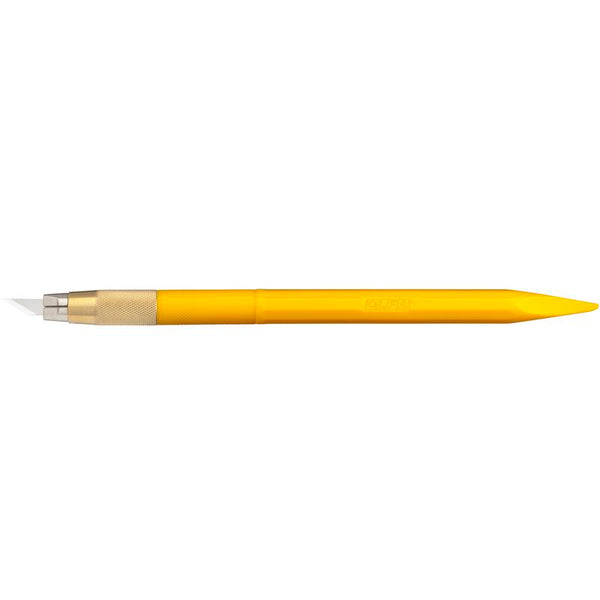
OLFA Couteau d'art graphique Designer AK-5 avec 30 lames de rechange
OLFA Règle en acrylique givré QR-6x12 6" x 12"
OLFA Ciseaux pour appliqués de précision SCS-4 de 5 pouces
Papier aggloméré léger (format lettre)
Papier kraft (format lettre) pour carte
Deux papiers de scrapbooking à motifs coordonnés (format lettre)
Interfaçage - Utilisé : Adhésif thermocollant Therm O Web HeatnBond Lite
Ruban adhésif (double face et régulier)
Deux 3 ½ x5” photos imprimées
Fer
Facultatif : Embosseuse mécanique Dymo avec ruban adhésif, noir
Facultatif : Feuilles séchées pour embellir
Instructions
Étape 1 : Coupez vos pièces de base
Utilisation de votre tapis, règle et couteau OLFA :
• Tracez et coupez-en un 9 x 6" rectangle à partir de papier kraft (c'est ENREGISTREMENT 1). Utilisez la règle et le côté effilé de votre couteau artistique pour tracer une ligne au milieu de ce rectangle. Pliez la carte en deux et mettez-la de côté.


• Coupez deux 4 ½ x6” rectangles en aggloméré (ce sont vos REC 2 morceaux)

Étape 2 : Préparez le papier à motifs
• À l'aide des deux papiers à motifs coordonnés, coupez-en un 4 ½ x6” rectangle de chaque motif.

• Utilisez l'interface Therm O Web pour coller chaque papier à motifs sur un REC 2 pièce, en suivant l'entoilage fabricant’les instructions (l'ordre de superposition correct, de bas en haut, est le panneau de particules comme base, puis l'interface pour le collage, et enfin le papier à motifs avec le côté motif vers le haut). Cela donne à vos pièces de cadre une structure robuste.


Étape 3 : Créer les fenêtres
• Avec un crayon et votre règle OLFA, tracez un trait centré 3 ½ x5” rectangle sur chacun REC 2

• Découpez ces rectangles intérieurs à l'aide du couteau artistique OLFA

Étape 4 : Coupez les bandes coulissantes
• Couper SIXIÈME 1x 4 ½” rectangles à partir de panneaux de particules à l'aide du couteau artistique, du tapis et de la règle OLFA

• Vous pouvez totalement sauter cette étape, mais pour une plus belle finition, j'ai ajouté un morceau de papier à motifs au dos de la bande qui va sur le dessus. Vous’Nous verrons plus tard que cette partie s'affiche lorsque l'on déplace les photos.

Étape 5 : Assemblez le mécanisme de retournement
• Au dos du premier REC 2 (côté aggloméré), utilisez du ruban adhésif ordinaire pour fixer chacun des six bandes (1 x 4 ½” rectangles), en les espaçant verticalement, comme indiqué ci-dessous :
• Ensuite, appliquez un autre jeu de morceaux de ruban adhésif sur chacun de ceux que vous venez de placer (comme indiqué ci-dessous).
Étape 6 : Créer le cadre
• Retournez doucement les cinq petits rectangles vers le bas
• Placez le morceau restant (l'autre REC 2) en haut, en alignant le bord inférieur de la fenêtre intérieure avec le bord inférieur de la première bande en haut. Collez-le en place.
Étape 7 : Préparez les photos
• Au dos de chaque 3 ½ x5” photo, utilisez un crayon et une règle OLFA pour diviser la hauteur en cinq égales à 1” rubriques
• Découpez chaque photo en cinq 1 x 3 ½” rectangles
Étape 8 : Ajouter les photos au mécanisme
• Au recto de la carte, collez la première photo (la photo d'automne) une bande à la fois à l'aide de scotch double face
• Abaissez le mécanisme et répétez avec la deuxième photo (la photo d'été)
Étape 09 : Terminez la carte
• Assurez-vous que tout est sécurisé et bien aligné. Ensuite, fixez le mécanisme de retournement des photos sur le panneau avant de la carte pliée, à l'aide de ruban adhésif double face.
• Joindre un ½ x4 ½” bande de papier kraft sur le bord inférieur de la photo avant pour finir soigneusement la languette de traction.


Votre carte de changement de photo est prête ! Tirez doucement sur le bas du mécanisme rabattable pour basculer entre les photos. Il’C'est une merveilleuse façon de partager des souvenirs et une belle touche artisanale pour toute occasion. Si vous’Vous aimeriez décorer l’intérieur de la carte avec des feuilles et des fleurs séchées pour apporter une ambiance automnale chaleureuse.
résur’n'oublie pas de taguer moi @marciabel et @OLFA_craft dans votre carte terminée, nous serions ravis de voir votre création !
Marcia