Sac fourre-tout patchwork surdimensionné New York

Créateur : Daisi Toegel
Site Internet : www.flowersew.com
--------------------------------------------
Catégorie : Sac et Accessoires
Taille : 22" de hauteur x 22" L environ. taille finie
Niveau de compétence : Intermédiaire
Remarques sur le modèle :
- Veuillez lire l'intégralité du didacticiel avant de commencer, car certaines exigences en matière de tissu peuvent changer par rapport à la liste ci-dessous si vous préférez assembler des chutes.
- La marge de couture est de 1/4 po, sauf indication contraire.
- Supposons un WOF de 44 pouces pour la superficie.
- FE = gros huit = 9" x 21".

Exigences en matière de tissu :
|
Couleur A (CA) = Blender Fantôme Blanc |
1/3 verge |
Patchwork côté principal |
|
Couleur B (CB) = NY Petite Épice |
1/3 verge |
Patchwork côté principal |
|
Couleur C (CC) = Grande brique de New York |
1 FE |
Patchwork côté principal |
|
Couleur D (CD) = Nourriture Pluie Tropicale |
1/3 verge |
Patchwork côté principal |
|
Couleur E (CE) = Aliment Algéen |
1/2 mètre |
Poignées |
|
Couleur F (cF) = Petit dollar de sable de New York |
2 mètres |
Doublure et reliure |
Outils nécessaires :
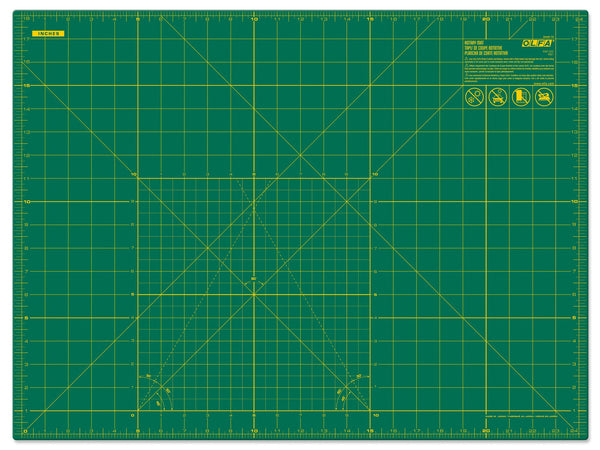
OLFA RM-SG-01 Tapis rotatif vert double face auto-cicatrisant 18" x 24"
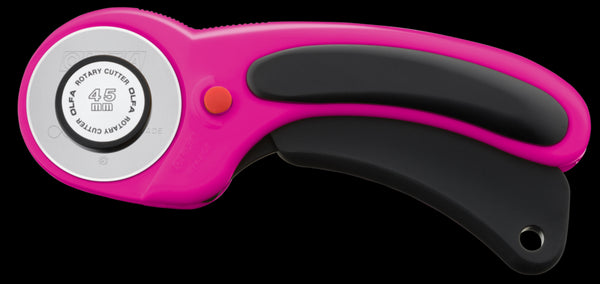
Coupeur rotatif ergonomique OLFA RTY-2DX/MAG 45 mm
OLFA QR-6x24 Règle en acrylique givré 6"x24"
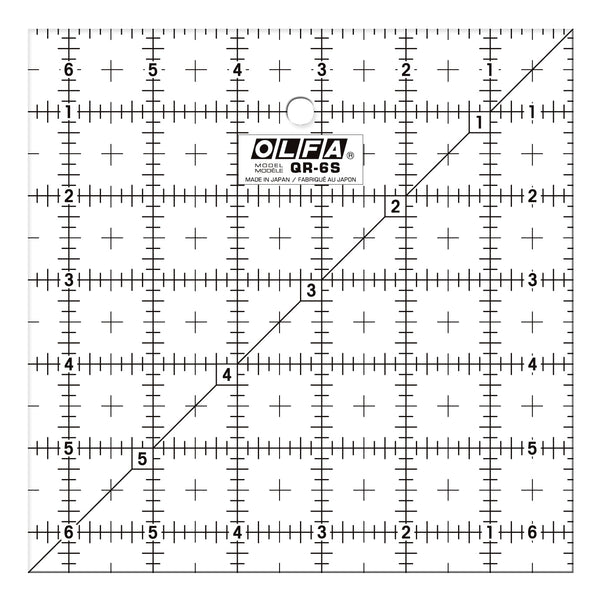
OLFA QR-6S Règle carrée en acrylique givré de 6 1/2"

Vous aurez également besoin de :
*(2) carrés de frappeur de 23" x 23" (ou le stabilisateur de votre préférence)
*(2) sangles de 64" x 1" (ou bandes de molleton, ou le matériau pour les poignées de votre préférence)
Instructions de coupe :
Tissu A :
Coupez (5) bandes de 2" x WOF ; sous-découpez dans 4 bandes (28) rectangles de 2" x 5 1/2" et dans 1 bande (22) carrés de 2". À partir des chutes des 4 bandes précédentes, coupez (10) carrés supplémentaires de 2" pour un total de (32) carrés de 2".
*Si vous utilisez un tissu WOF de 42", coupez plutôt un total de (6) bandes de 2" x WOF.
Tissu B :
Coupez (5) bandes de 2" x WOF ; sous-coupez (32) rectangles de 2" x 5 1/2".
Tissu C (FE) :
Coupez (3) bandes de 2" x WOF. Sous-coupez (28) carrés de 2".
Tissu D :
Coupez (2) bandes de 5 1/2" x WOF ; sous-coupez (2) rectangles de 5 1/2" x 23".
Tissu E :
Coupez (4) bandes de 4 1/2" x WOF ; cousez 2 paires de bandes ensemble sur le bord court pour former 2 longues bandes.
Sous-coupez chaque bande à 65" x 4 1/2".
Tissu F :
Coupez (2) bandes de 23" x WOF ; sous-coupez (2) carrés de 23".
Coupez (4) bandes de 2 1/2" x WOF ; joignez toutes les bandes sur le degré d'angle de 45 et appuyez en deux dans le sens de la longueur pour réaliser la reliure.
Coupez (6) bandes de 2" x WOF ; sous-coupez (6) rectangles de 23" x 2".
*Les instructions de découpe ci-dessus concernent des pièces entières, sans utiliser de chutes.
*Si vous préférez utiliser les chutes de tissu F pour couper les bandes les plus fines, n'hésitez pas à les assembler pour atteindre la longueur à couper et donc utiliser moins de mètres.

Préparez les poignées :
Utilisez le même processus ci-dessous pour les pièces de tissu E et les bandes de sangle.

En suivant le tableau ci-dessus, face principale du tissu tournée vers l'extérieur, pliez la bande en deux dans le sens de la longueur jusqu'au pli (1), ouvrez et pliez les bords longs vers le pli (2). Ajoutez le morceau de sangle à l'intérieur des bords pliés pour donner de la structure à la bande – la sangle sera 1/2" plus courte de chaque côté.

Ensuite, pliez les deux bords longs vers le centre en recouvrant la pièce de sangle (3). Joignez les bords longs à l'aide des clips (4) et pliez les bords courts de chaque côté vers l'intérieur, terminez le clippage et cousez les deux bords longs en utilisant 1/8" de surplus de couture pour terminer.

Après avoir répété le processus pour les deux longues bandes de tissu du tissu E, ainsi que la préparation de la reliure (voir les instructions de découpe du tissu pour le tissu F), mettez les poignées et la reliure de côté.

Préparez le corps :
En suivant l'image ci-dessous, réalisez (4) de chacune des bandes de patchwork présentées.
Tissu B + Tissu A (B+A+B+A+B+A+B+A+B+A+B+A+B+A+B) x 4.
Tissu A + Tissu C (A+C+A+C+A+C+A+C+A+C+A+C+A+C+A) x 4.
Repassez les coutures sur un côté.

En suivant l'image ci-dessous, réalisez (2) de chacune des bandes de patchwork présentées.
Bande de tissu F 2" x 23" + Bande de tissu AC préalablement cousue + Bande de tissu F 2" x 23" (x 2).
Bande de tissu AC préalablement cousue + Bande de tissu F 2" x 23" (x 2).
Repasser les coutures vers les bandes F du tissu.

Cousez (2) carrés de patchwork pour chaque côté du sac comme indiqué ci-dessous.
Repassez les coutures vers le tissu F et le tissu D.

Bâtissez les principales pièces de patchwork, de molleton et de doublure ensemble en utilisant la méthode de votre préférence ainsi que le style de matelassage.
Appuyez sur chaque unité matelassée après le matelassage.
À l'aide de la règle carrée en acrylique givré de 6 1/2" QR-6S, alignez chaque coin inférieur sur un carré de 2 1/2" et coupez les carrés pour préparer les coins encadrés.

Coudre les anses de chaque côté :
Épinglez les extrémités des poignées juste au-dessus de la base là où commence la partie du patchwork reconstitué, comptez 5 carrés du patchwork de chaque côté et positionnez la poignée entre les carrés 5 et 6.
Ajustez la poignée tout au long de la même ligne en montant jusqu'à 1´ au-dessus du haut de la bande droite Fabric F.
Cousez un rectangle en suivant les coutures des poignées comme guide, en cousant dessus pour terminer.

Coupez tous les fils qui pourraient pendre et clipsez/épinglez les parties du sac avec les côtés principaux ensemble et le côté doublure vers l'extérieur. Gardez les poignées rentrées à l’intérieur, loin des bords à coudre.

Cousez les côtés et le bas en faisant des points arrière au début et à la fin. Reliez les côtés et le bas.
Ensuite, rapprochez les coins et cousez de la même manière pour créer les coins encadrés. Reliez les coins entourant les bords de la reliure pour une finition soignée.
Enfin, attachez le bord supérieur du sac, en posant les coutures latérales du sac sur un côté pour le rendre plus plat.
Retournez le sac sur le côté droit et donnez-lui une bonne pression. Vous avez terminé !


