Stitching Love : Broche en feutre brodée à la main pour la fête des mères

Créateur : Marcia Izabel Marchiori
YouTube : MarciaBel Vlog
Instagram: @marciabel
---------------------------------------
Niveau : Débutant
Un petit cadeau fait main peut en dire long, et cette broche en feutre doux est une façon simple et sincère de célébrer Mère.’Le jour de la Saint-Valentin.

Ce n'est pas le cas’Il ne faut pas grand-chose, juste quelques fournitures de base, du feutre et un peu de temps à réserver pour soi. Dans ce tutoriel, je’Je vous guiderai à travers chaque étape du processus, le rendant facile à suivre même si vous’Je suis nouveau dans ce genre d'artisanat.

Il’C'est le projet parfait pour un après-midi tranquille, lorsque vous souhaitez ralentir et créer quelque chose de significatif avec vos mains. Que vous’Que vous la fassiez pour votre maman, une figure maternelle, ou même comme petit gage d'amour-propre, cette broche est un doux rappel que les petites choses, faites avec soin, peuvent porter tant d'amour.
Laissez’faisons quelque chose de spécial ensemble.
Outils et fournitures nécessaires
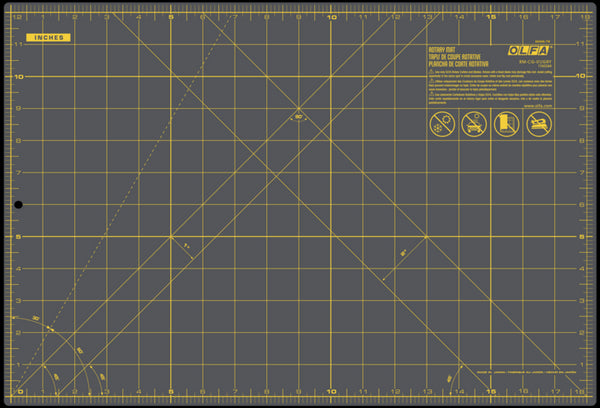
- OLFA RM-CG-01/GRY Tapis rotatif double face auto-cicatrisant 12" x 18", gris
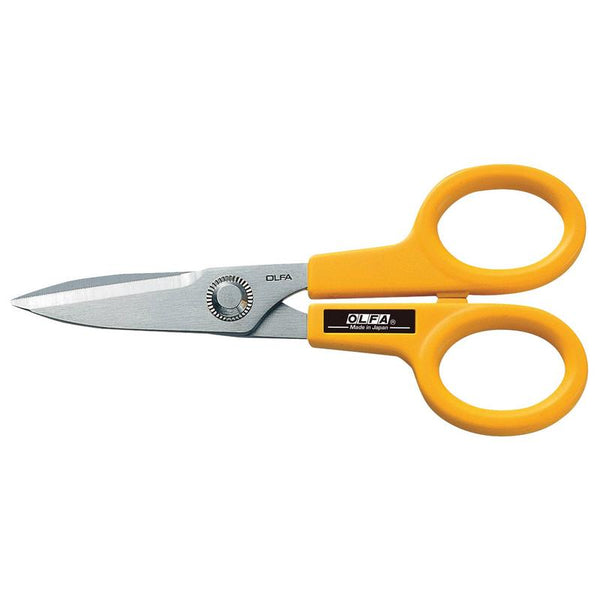
- Ciseaux en acier inoxydable à bords dentelés OLFA SCS-1 de 5 pouces
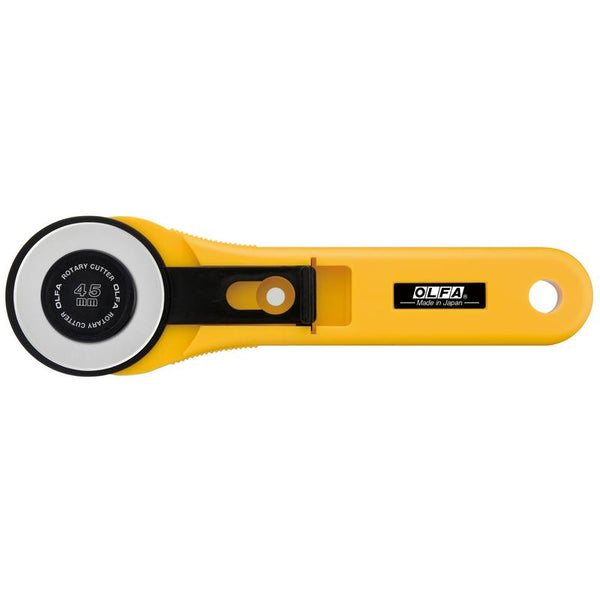
- Coupeur rotatif à poignée droite OLFA 45 mm RTY-2/G
- OLFA QR-6x12 Règle en acrylique givré 6" x 12"
-
Laine ou acrylique de bonne qualité felt pour fleur, dans les couleurs/tailles suivantes pour chaque broche :
-
Ccouleur de votre choix : assez pour un cercle de 2" et deux 1 1/2" x8” rectangles
- Vert pour les feuilles - env. 4" x 4"
-
Ccouleur de votre choix : assez pour un cercle de 2" et deux 1 1/2" x8” rectangles
- Broche (ou épingle de sûreté ordinaire, c'est celle que j'utilise dans ce projet)
- Fil à broder (assorti à la couleur de la fleur et du feutre vert – j'ai utilisé Aurifil) et aiguille
- Bouton décoratif
- Colle chaude / pistolet à colle
- Stylo effaçable (utilisé : Pilot Frixion)
Jeinstructions
1. Préchauffez le pistolet à colle chaude. À l'aide du tapis OLFA, du cutter rotatif et de la règle, coupez deux 1 1/2” x8” rectangles en feutre (couleur fleur).

2. Réaliser une base pour la broche : En utilisant n'importe quel couvercle que vous avez à proximité’À environ 2" (ou à l'aide d'un compas), tracez un cercle sur la feutrine avec un stylo effaçable. Ensuite, à l'aide des ciseaux OLFA, coupez-le aux dimensions souhaitées.


3. Toujours à l'aide du stylo effaçable, tracez deux feuilles sur du feutre vert, d'environ 1" x 2" chacune. Si votre ressenti est’Si elle n'est pas très épaisse (comme la mienne), utilisez deux couches de feutre pour faire une feuille plus solide. Après avoir découpé les feuilles, collez les deux couches ensemble à l'aide d'un fin trait de colle chaude sur les bords.


4. Ensuite, appliquez de la colle chaude le long de l'un des bords longs du 1 1/2" x8" rectangle et pliez-le dans le sens de la longueur, en attachant les deux côtés pour former une longue bande.

5. Couper les pétales : Avec les ciseaux OLFA, découpez soigneusement de petites fentes le long du bord plié (le côté non collé), en les espaçant d'environ 3/16". Faites attention à ne pas couper le bord collé. Le but est d'obtenir une bande de petites boucles. Remplissez doucement les boucles avec vos doigts pour les ouvrir légèrement et donner plus de volume à la fleur.

6. Fixez l'épingle au dos du cercle à l'aide d'un petit morceau de feutre de la même couleur verte que la base pour la fixer. Annuler.

7. À l’aide de fil à broder vert, ajoutez des points courants au centre des feuilles. A l'aide d'un point de colle chaude, fixez les feuilles sur le cercle de feutre comme indiqué ci-dessous.


8. Maintenant, c'est’Il est temps de coller la bande sur le cercle pour former la fleur : en partant du bord extérieur du cercle, collez soigneusement la bande en forme de spirale vers le centre. Coupez tout excédent de feutre du centre si nécessaire.


9. Pour finir la broche, utilisez de la colle chaude pour attacher un bouton décoratif au centre de la fleur.

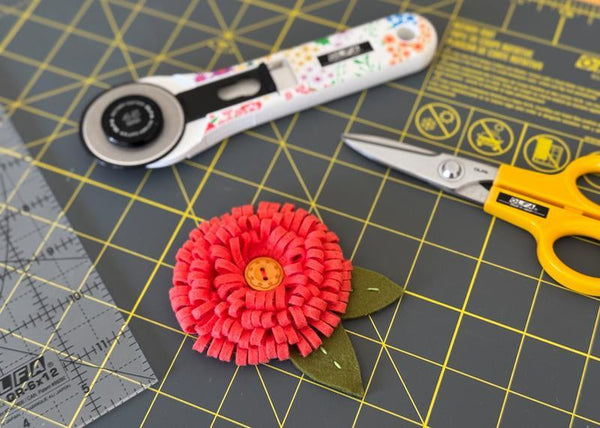
Et votre broche est prête !


Astuce : Si vous’J'aimerais, cette jolie fleur peut aussi être réalisée comme un aimant ! Remplacez simplement l'épingle en collant un petit aimant au dos de la fleur. 😉

Je’J'adorerais voir vos projets terminés ! Taguez-moi @marciabel et @OLFA_craft afin que nous puissions admirer votre adorable broche.
Heureuse Mère’Le jour de la Saint-Valentin ! 💐
Marcia