Tutoriel sur la carte d'appréciation de l'enseignant sur le thème de la pomme

Créateur : Marcia Izabel Marchiori
YouTube : MarciaBel Vlog
Instagram: @marciabel
----------------------------------
Niveau : Débutant
Les enseignants font tellement de choses chaque jour, et une carte faite à la main est une belle façon de dire merci !

Dans ce tutoriel, je’Je vais vous montrer comment créer une carte d'appréciation sur le thème des pommes avec de douces pommes en papier 3D qui ajoutent une touche ludique et faite à la main. Il’C'est un projet simple et significatif, que vous le fassiez avec vos enfants ou que vous le fassiez vous-même.

Si vous voulez montrer à un enseignant à quel point il est apprécié, cette carte est une belle façon de commencer. Alors rassemblez votre matériel et laissez’Commençons !
Outils et fournitures nécessaires
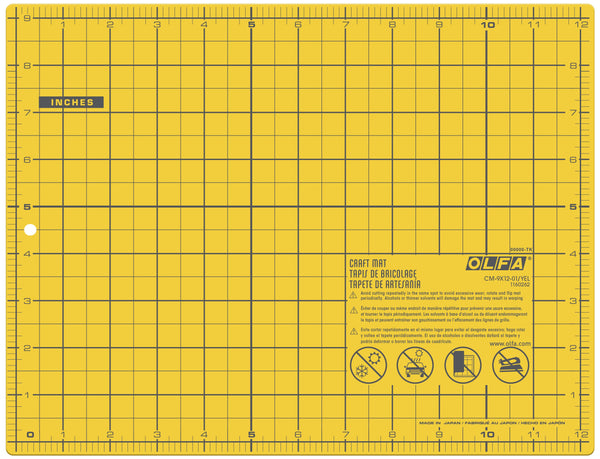
• OLFA CM-9x12-01/YEL Tapis de découpe auto-cicatrisant double face
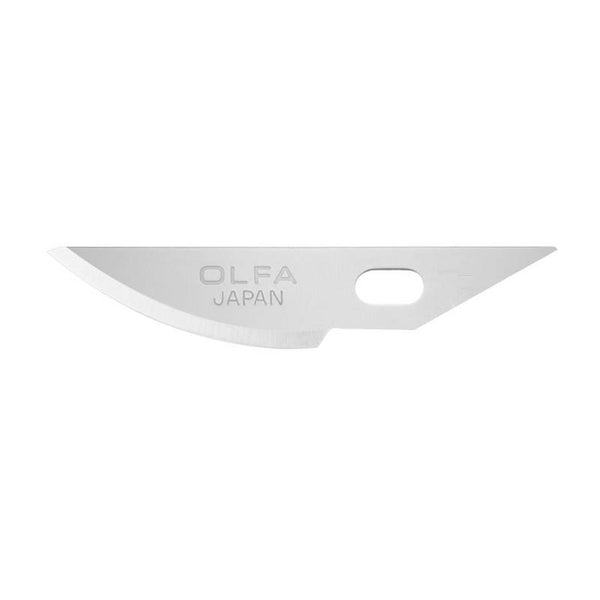
• OLFA Couteau d'art AK-4 Cushion Grip associé à une lame incurvée
• OLFA QR-6x12 Règle en acrylique givré 6" x 12"
• Papier cartonné blanc, format lettre, adapté à l'impression
• Facultatif, si vous fabriquez avec des enfants : OLFA ESK-1 Couteau artisanal pour débutant avec support
• Papier cartonné à motifs
• Ruban adhésif double face 1/4"
• Pistolet à colle chaude
• Enveloppe carrée
• Crayon
• Imprimante
Jeinstructions
1. Imprimez le modèle à mettre à l'échelle directement sur du papier cartonné blanc.
2. À l'aide du couteau artistique OLFA, du tapis de découpe et de la règle, découpez le carré qui constituera le recto de votre carte et mettez-le de côté. Coupez les deux modèles de demi-pomme.


3. Prenez du papier à motifs (deux motifs correspondants). Marquez et pliez-le en laissant suffisamment d'espace pour utiliser le gabarit en demi-pomme. Le bord plié sera le centre de votre pomme.

4. Tracez le gabarit demi-pomme sur le papier à motifs plié, face verso.

5. A l'aide du couteau d'art OLFA associé à la lame courbée, coupez le long de la demi-pomme tracée. La lame incurvée permet de couper plus facilement les lignes courbes. Répétez cette opération pour créer huit ensembles de pommes plus petites (deux papiers à motifs par ensemble).


6. Répétez ce processus pour la plus grosse pomme (celle qui va à l'intérieur de la carte) : pliez le papier à motifs (pour la plus grosse pomme, utilisez trois couches de papier à motifs), tracez le gabarit sur le papier plié (verso) et coupez les pommes à main levée à l'aide du couteau artistique OLFA associé à la lame incurvée.

7. À l'aide du couteau artistique OLFA, tracez le gabarit et coupez à main levée huit petites feuilles et une plus grande feuille dans du papier cartonné vert.


8. Pliez un papier à motifs au format lettre en deux dans le sens de la longueur (seul le recto doit être à motif ; le verso doit être blanc). Ensuite, à l'aide du couteau artistique OLFA, du tapis de découpe et de la règle, découpez un carré de 5 1/4". Ce sera la base de votre carte.

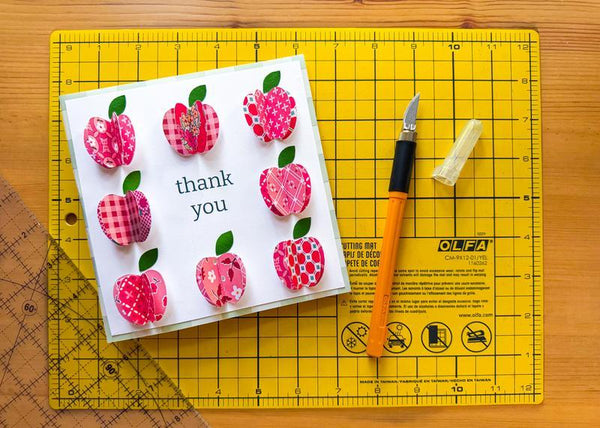
9. Assemblage des pommes : À l’aide d’un fin trait de colle chaude, collez chaque ensemble de petites pommes ensemble par leur centre. Collez chaque petite pomme sur le devant de la carte, en les alignant au-dessus de chaque ligne imprimée comme indiqué ci-dessous.

10. Assemblez les trois couches de la plus grosse pomme : commencez par utiliser du ruban adhésif double face pour adhérerAppliquez la première couche par son pli au centre plié de la partie intérieure de la carte, en laissant environ 1 pouce du centre-bas, puis répétez le processus en utilisant de la colle chaude pour fixer les deux couches suivantes au centre.


11. A l'aide de colle chaude ou de scotch double face, collez les feuilles.

12. À l’aide de ruban adhésif double face, collez le carré de papier cartonné blanc imprimé sur le devant de la carte. Et voilà, votre carte est complète et pleine d'amour.


Je’j'adorerais voir ton travail fini! Taguez-moi @marciabel et @OLFA_craft afin que nous puissions admirer vos belles cartes.
Avec amour,
Marcia