Leather Jacket Transformation – Part Two - Taking The Jacket Apart

Designer: Randa Roberts
-----------------------------
Hello! Thanks for joining me for this second post in my series about transforming a leather jacket into a custom designed bag. Last post we went thrift store shopping to find an interesting jacket to upcycle, -you can read it here - and for this post, I’m going to take it apart and prepare it for its new life as a custom designed bag!

Little history lesson: leather jackets became stylish and popular during the 1920’s through to the 1940’s after they shifted from functional bomber jackets during the World Wars to fashion. The 1950’s saw the birth of the motorcycle style, which riders embraced for its durability in case they hit the road. Leather jackets were seen as a ‘one time purchase’ to be cared for and that’s why there are so many still around. The jacket I’m working with isn’t very old at all and in very good condition with lots of life left in it.
It takes me about 45 minutes to take a leather jacket apart. Sometimes a jacket will have a feature, such as a pocket or beautiful stitching that calls out to be saved. This leather jacket is a basic style without embellishments or details that you see in fashion styles. It's a medium weight leather, that we can assume is cow, and it will come apart beautifully! Are you ready? Let's take down this leather jacket!

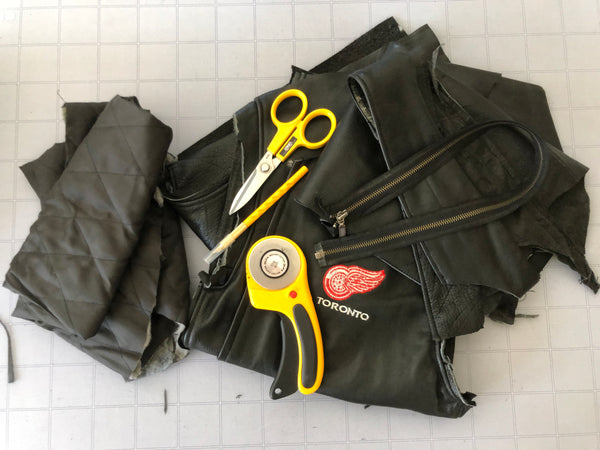
Essential Tools:
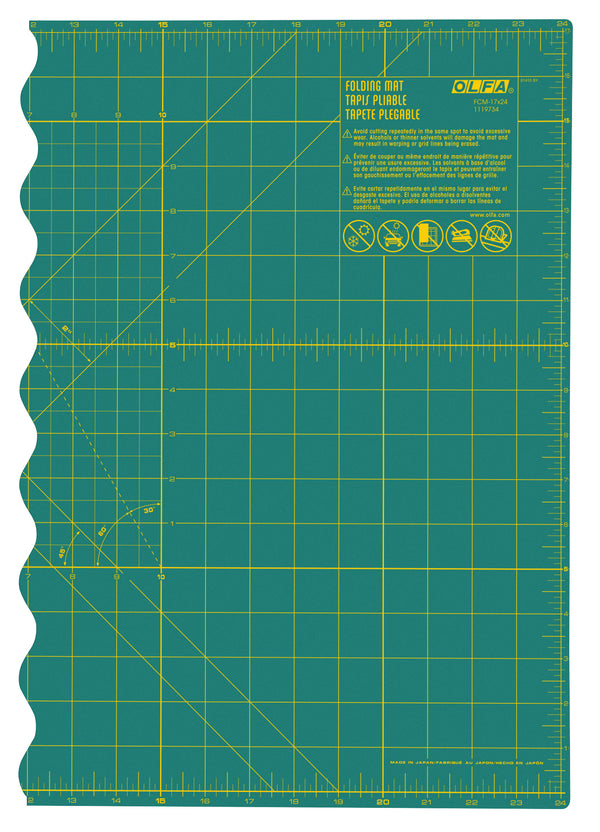
- OLFA Double Sided Self Healing Cutting Mat - I use 2
- OLFA FCM 17x24 17” by 24” Folding Cutting Mat NOTE: The Translucent 24x36 mat I use for this series has been discontinued. OLFA recommends using this mat as a replacement.
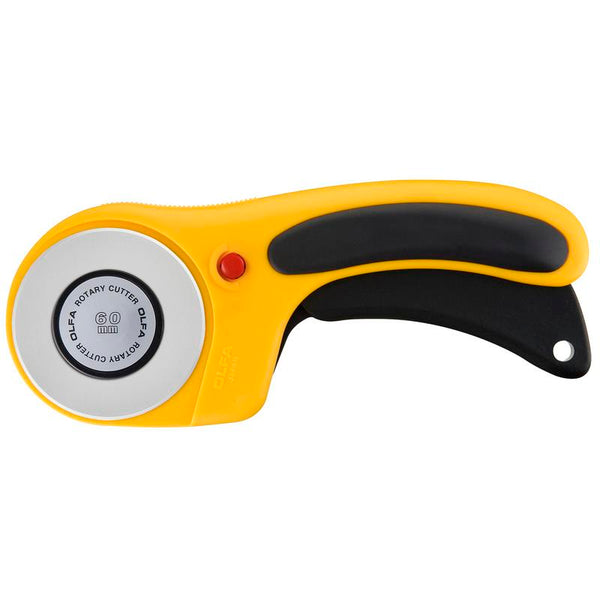
- OLFA 60mm RTY-3/DX Ergonomic Rotary Cutter
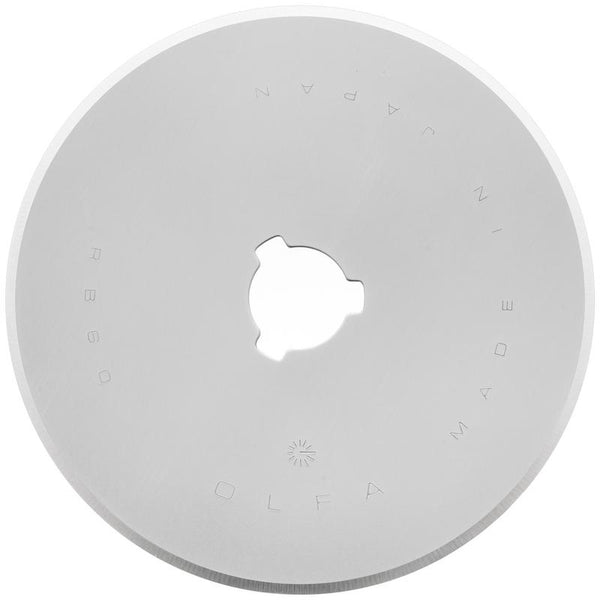
- OLFA 60mm RB60 Tungsten Steel Rotary Blade
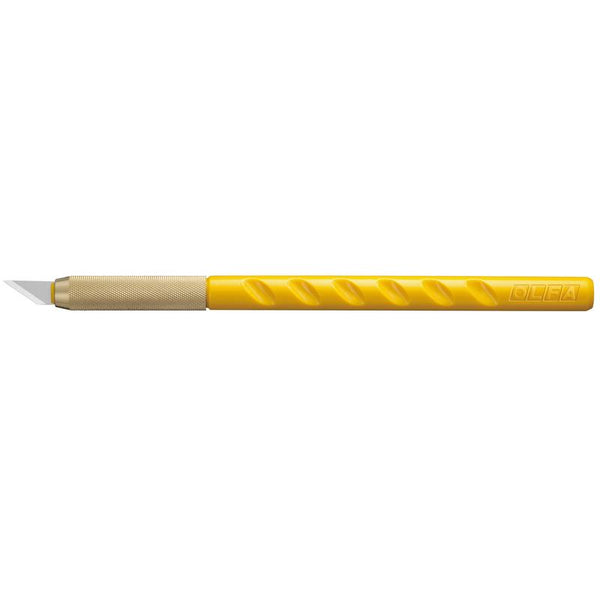
- OLFA AK-1/B Graphic Art Knife With 5 Replacement Blades
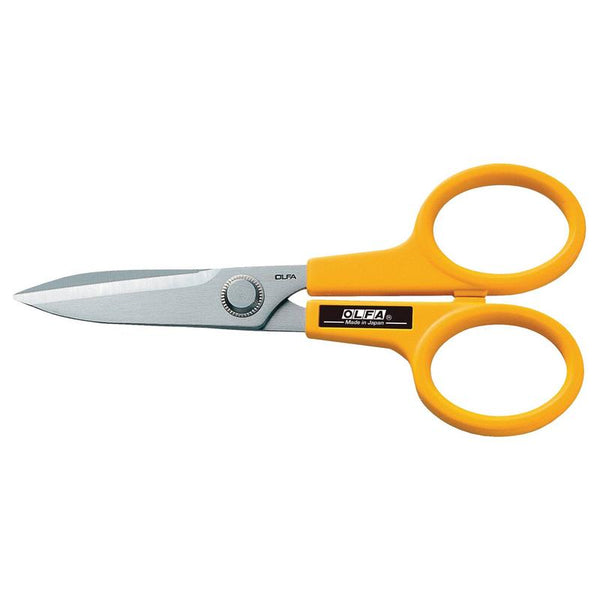
- OLFA 7-Inch SCS-2 Serrated-Edge Stainless Steel Scissors
Here are the steps that I follow for most leather jacket takedowns:
- Rip out the zipper
- Remove the sleeves
- Remove the collar
- Remove the lining
- Cut the jacket into large pieces
- Keep the pieces together in a labelled bin


First things first – install a fresh, OLFA 60mm Tungsten rotary blade. I’m grateful for the instructions on the back of the OLFA packages; I always need to consult them, and if still in doubt, I follow the link they provide to a YouTube video.

Removing the zipper is the most technical and difficult part, and that’s why I like to do it first. Slowly and carefully, I position my AK-1/B Graphic Art Knife between the zipper, and one side of a seam, and once I feel a stitch, I make a small slice. Using my fingers to pull apart the zipper from the jacket allows me to see more stitches that I can cut. Once I get a few inches of released zipper, I know that I can give it a good couple of tugs with my hands and the zipper comes free.
NOTE: this leather was thick enough not to tear, but a softer and thinner leather would. Those take much more time, effort, and care to remove.
The zipper gets zipped and set aside, ready to be used again.

Sayanora, Sleeves! See how easy a fresh 60mm OLFA blade slices through four layers of leather, fabric, and batting? I appreciate the handle because I often forget to close my blade, and it is a very important safety concern. It’s also usable for both left and right-handed makers.

Then I flip the sleeve over and take the cuff off. Out comes the sleeve lining, and hey, it’s usable! I open up the seams and save it for later.
Sleeves have a curve to them, and they’re sewn that way to be a comfortable fit. So, once I find that curved seam, I cut along it and open it up to reveal a beautiful piece of leather.

Now’s a great time to start putting your cut pieces into a bin. I usually label them with the customer's name and date of order on it.

Since we’re not going for a vested look, I’ll take off the collar and save it for later. I will use up collar pieces for things like zipper ends, pulls, and strap tabs.
Next, I’ll cut the seam along the bottom. There’s no need to pick out those pesky, time-consuming stitches here.
Now we’re left with a shell that is still attached to the lining at the shoulders. A few simple snips with my scissors, and the lining and shell are released from each other.

Before I discard the fleece lining (the only waste) I remove the rest of the leather attached to it and save it for later. Sorry, pocket. There’s no need for you anymore. Thank you for your years of service.


Now that the jacket has been reduced to its most useful and beautiful leather state, I can see where I need to cut along the sides, and shoulders, and be left with beautiful panels ready to be made into a bag. Yes, it’s messy. There are strips of tiny leather, thread, and “leather dust” left over to clean up, but hey, at least there are no shoulder pads!


So, now I’ll pack it all up nicely and put it away while I think non-stop about which style of bag it will become. I put it out to my followers on social media and they’ve given me some great suggestions. You’ll have to wait until the next post to find out what it will become! We’re going to cut down the zipper and work out a lining. I can’t wait to show you how important my OLFA Frosted Advantage rulers are. I hope you’ll join me then!
PS – Check out #leatherjackettakedown on So Comfy Designs’ Instagram to see lots more!
Randa :)